Showing posts with label May Arts Ribbon. Show all posts

Thursday, June 6, 2013

Ribbon Dragonfly Storage Jar

Hi Dreamers!
Today, I have a fun storage idea to share!   I found some gigantic glass jars (the kind used for canning) at my local  craft store last week.  I saw lots of scope in them.  LOL  I knew they would be perfect for storing loose items.  Here are the 9 1/2" tall jars:


Materials List:
Glass Jars with screw top lids (I found these at Michaels Craft Store)
Bordered Orange Sheer Ribbon from May Arts (356-15-28)
Peach Satin Ribbon
Scraps of CS
Dragonfly die cut from Sizzix


I decorated the jar with ribbon dragonflies!  I used a Sizzix die to cut out the dragonflies.  Let's get started making our decorated storage jar.

Instructions:

  • Place ribbon on top of the die and cut.  I covered the die with a scrap piece of CS before running through my Cuttlebug just to hold the ribbon in place


  • Cut about 12 dragonflies from the ribbons.  Cut the same amount from cardstock


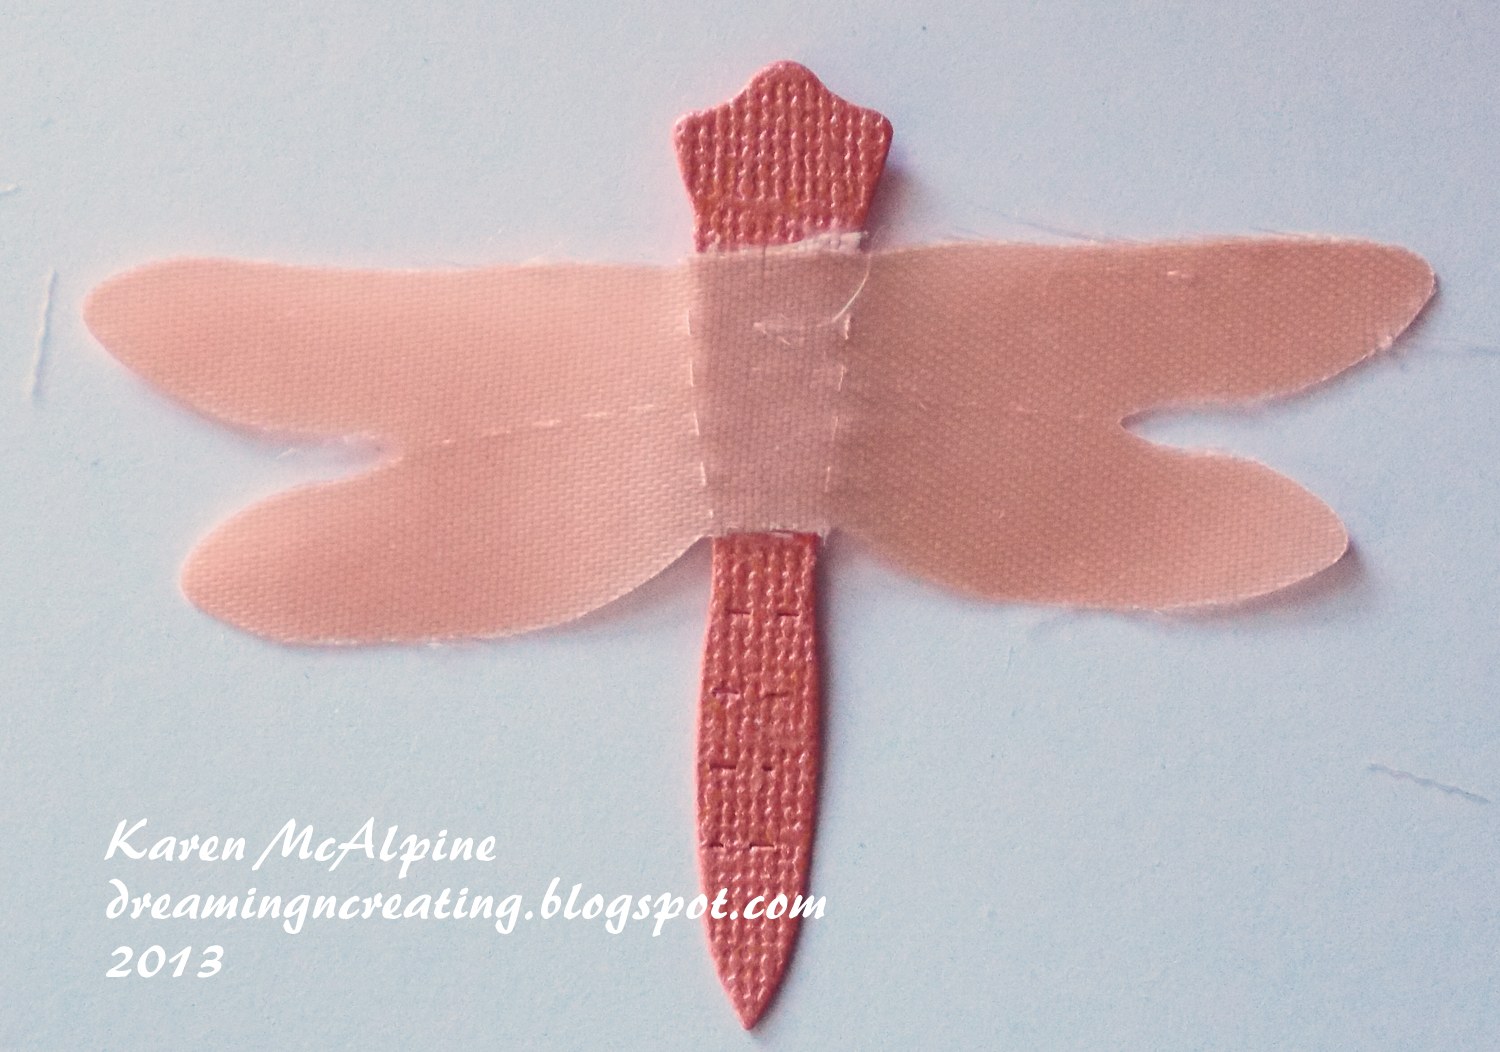
  • Cut off the heads from the ribbon dragonflies.  You can leave the body on some or cut it off
  • Cut the wings off the CS dragonflies
  • Glue the ribbon wings to the CS bodies


  • Attach the dragonflies to the jar with dimensional adhesive all around the jar
  • Tie ribbon around the neck of the jar


  • Decorate the top of the jar with a circle cut from yellow CS, a big bow and another dragonfly---for this dragonfly I did not cut away the CS wings, but left them to make the dragonfly more stable


Now, I have a super pretty storage jar!  And, guess what I decided to store in my Dragonfly Jar!!  You guessed it!  My ribbon scraps!  How Fun!!


I think this jar would look great with spools of thread or buttons.  You could use any size jar as well.  Smaller ones would be great to store Markers and pens.

*******A Few Fun Challenges for my Dragonfly Storage Jar**
Make My Monday: ribbon or lace
Paper Playtime: 2 or more ribbons
DL. Art: anything goes
CRAFT challenge: anything but a card
********


Well, I guess that is it for me today.  See you next time!  Love ya.
Karen

Wednesday, June 5, 2013

Use Those Ribbon Scraps to Embellish Cards

Hi Dreamers!
I am back again today with a fun idea for using some of those small bits of ribbon that we all have in abundance.  Don't throw those out!  Use them to embellish your projects.  I gathered up ribbon scraps in oranges, reds, browns, and cream to jazz up a card.  Take a look at the card!---Very Jazzy!!


Finished size: 4 1/2" x 6 3/4"


Materials List:
Willow colored Crinkle Silk ribbon from May Arts
Cream Bullion Trim from May Arts
Scrap Ribbons in orange, reds, brown, and cream
Stamp:Two Vine Scroll (CG174) Hero Arts
Ink: Jet Black Archival (Ranger)
Crafters Workshop Template - Cosmic Swirls
Spray inks
Fabri-Tac Glue
Cardstock: cream, orange, and  black


Instructions:
  • Make a black card base and layer with orange CS
  • Make the background of the stamped piece by placing the Cosmic Swirls template over cream CS and spraying with spray inks
  • When the background is dry, stamp the Hero Arts stamp with Jet Black ink
  • Add stamped piece to center of card with dimensional adhesive 


  • Starting at the bottom on the card, begin gluing ribbon by folding  the small lengths of ribbon in half and placing a drop of glue on the ends of each piece
  • Continue up the sides and finishing with the top of the card
  • Trim the ends of the ribbons


I  used only scraps for the entire surface, except for the lacy trim and the bow at the top of the card.  I did have to cut these two pieces.  To cover the ends of the ribbons at the top of the card, I glued a piece of the lacy bullion trim.  Tie the wide willow colored silk May Arts ribbon in a bow and glue to the card.


So, now I know you won't throw out those little bits and pieces of your beautiful ribbons!  This idea would also be great on scrapbook pages, altered items, and small wall hangings.  I am actually going to use this piece as a small wall hanging.  I can tuck it in a small space for a pop of color.  I bet you are saying to yourself, "But, Karen, how do I store all my ribbon scraps?"  Stayed tune for my next post!  I have a fun idea for storing your ribbon scraps coming up! And, you guessed, I did use ribbon!!  LOL


******How about a few fun Challenges for my Ribbon Scrap Art
Craft-room Challenge:use your scraps
Loves Rubber stamps: anything goes
Paper take Weekly: anything goes
Use It Tuesday: anything goes
Simon Says Stamp and show: use things beginning with "S"----I used scraps, swirls, stamping

Okay, I will see you next time for my ribbon scrap storage idea!!  Have a lovely day.
Love ya.
Karen

Ribbon Rosettes Tutorial and Card

Hi Everyone,
I am back today with the one of the ribbon ideas I have been promising!  I will show you how to make pretty ribbon rosettes that can be used in a variety of ways.  I added mine to a card, but they could be used on a headband, jewelry, a scrapbook page, alters items, etc....  Let's look at the finished card first.


Materials List:
Blue Wired Crinkle Ribbon (AW03) May Arts
Stamp: Flower Text (S5506) Hero Arts
Ink: Onyx Black VersaFine
Ranger Distress Markers: Crushed Olive, Shabby Shutters, Mustard Seed, Weathered Wood, Faded Jeans
Cardstock: white, black, and Not Quite Navy (Stampin' Up)
Yellow Crystal Stickers 10 mm-Mark Richards
Fabri-Tac Glue
Sharp Scissors


Instructions:


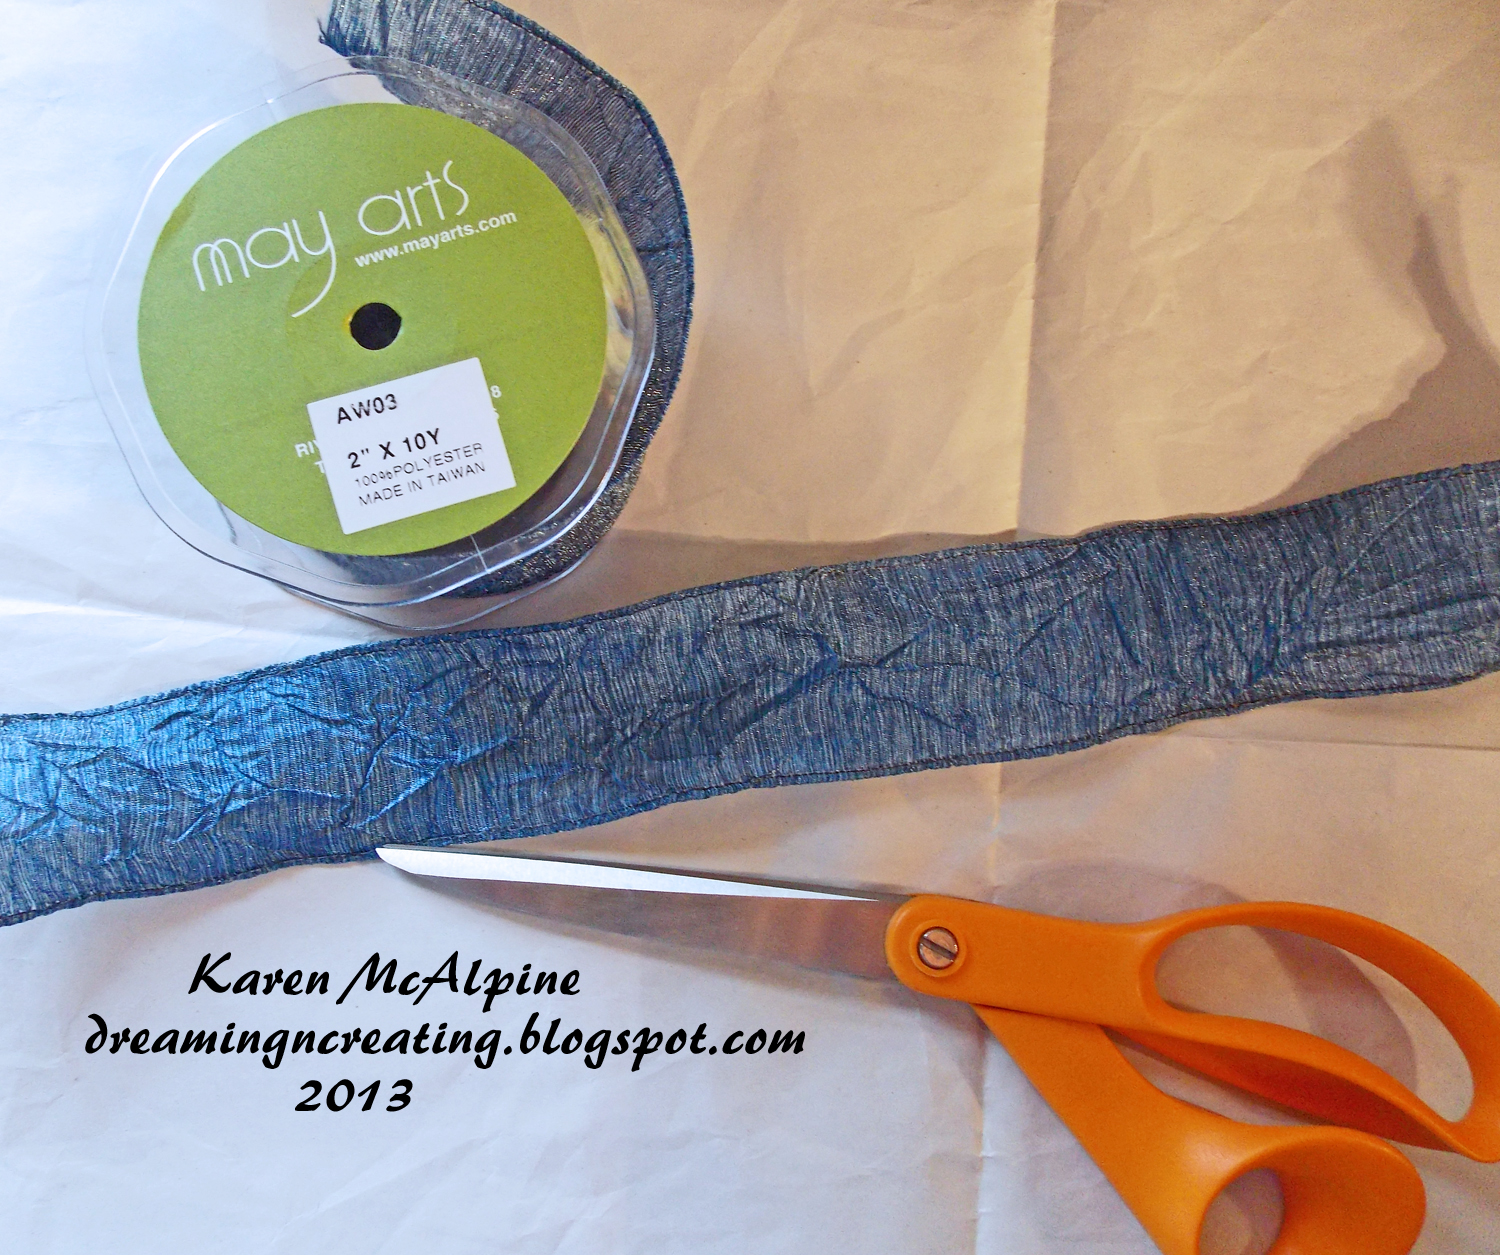
  • Cut a length of the Blue Wired May Arts Ribbon   


  • An eleven inch piece of ribbon will  make  2 two inch rosettes


  • Cut the ribbon in half lengthwise with a sharp pair of dressmaking shears


  • Sew the two short ends together with needle and thread ( I used regular sewing thread)
  • Make a small knot on the top edge so that the stitches made on the short end don't gather up


  • Run gathering stitches down on long edge


  • Begin to pull the stitches to gather the ribbon


  • Pull the thread to tightly gather the ribbon 
  • Now your rosette has taken shape.


  • Take several more stitches across the center of the rosette to secure the ribbon 
  • Knot the thread and cut the thread


That's it!  Wasn't that easy!!  Now you are ready to decorate a project with your hand made embellishment.  ***If you use a narrower ribbon, skip the step of cutting the ribbon in half lengthwise.  


Here is how I completed my Card:
  • Make a card base with Not Quite Navy CS
  • Layer with Black CS
  • Stamp the Hero Arts stamp on white CS with Black Onyx ink


  • Color the flowers with Distress Markers with the colors listed on the Materials list
  • Add to the card base


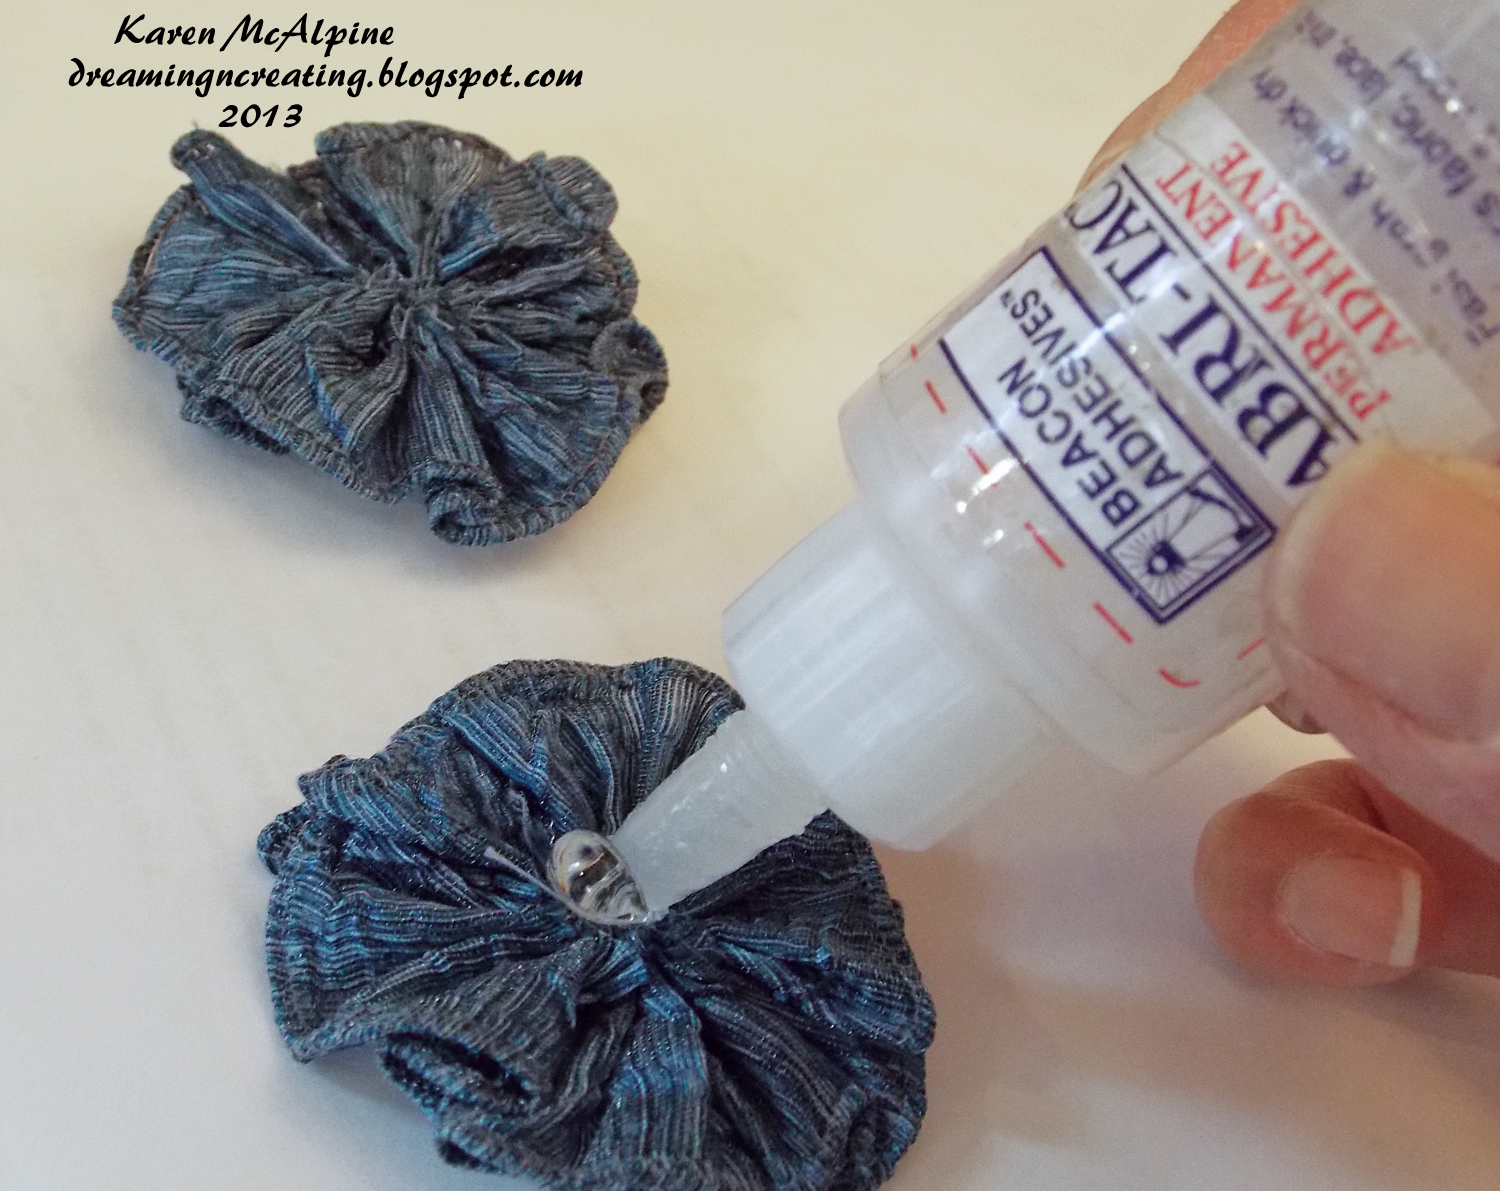
  • Use Fabri-Tac glue (or another strong craft glue) to attached the rosettes to the card
  • Add the large Yellow gems in the center of the rosettes  ( I used the Fabri-Tac glue on the gems too)


Wouldn't you love to receive this card??  I think it would be great for a birthday, get well, or a thinking of you.  You could make a bunch of the rosettes ahead of time and keep them for future use.  I like to keep a few on hand.  But, sometimes I make them specifically for  a particular project. 
 I hope you will try to make these fun hand made embellishments.  

*****A Few fun Challenges for my Folk Art flowers
Challenges 4 Everybody: anything goes
Stamping Sensations: summer blooms
ABC Challenge: O is for open
Crafting Musketeers: use a stamp
Creative Moments: lots of layers
************

I will be back later with an idea that uses some of those ribbon scraps!!  Don't throw those away!!
I wish you a happy day.  Love ya.
Karen

Friday, November 30, 2012

Holiday Wine Bottle Tag

Hi Dreamers!
How are you today?  Things are pretty good here.  Very chilly and starting to really feel like winter and the holiday season.  So, to warm us all up, I have created a Holiday tag for a bottle of cheer.


You can make this tag quite quickly.  You could use Christmas Decorative paper instead of  the background that I made.  My  background is made with Spray inks and a Crafters Workshop Template.


To Make the tag:
  • From Cream CS cut a piece 3 1/2" x 8"
  • Score at 5" and again at 7"
  • Punch or cut the circle in the 2" section.  (I used a Spellbinders die to cut my circle.  My punch would not reach far enough to punch the circle in the center.)


  • Stamp the Holiday Dress Form (Unity Stamps) on cream CS or a scrap of the Background. 
  • Layer with red CS
  • Add to tag with dimensionals


  • Gather the ribbon (May Arts) with hand stitches
  • Glue the gathered ribbon to the tag and cover edge with trim (May Arts)
  • Cut letters from Ephemera and add to tag.
How fun is this??!!  I am going to make up several of these to have on hand for Holiday Gift giving.  Some elves would be cute too.  Or, reindeer.    The possibilities are endless!   Hope you are inspired to make a few.  

And, how about some Challenges just for the fun of it!!
365 Cards: day 273 any card you like
Crimbo Crackers: Christmas
Moving along With the Times: use 3 elements beginning with the same letter---the letter H: holiday stamp, the word Holiday, and I punched a "hole".
S J Paper Crafts: Christmas + alphas
Crafts 4 Eternity: Christmas
Fussy and Fancy: Christmas

I have lots planned for the month of December.  I have so many projects I had to make  a posting schedule again.  LOL.  I don't want to forget something.  So, according to the schedule, tomorrow, you can see a Christmas framed picture with Stampsmith stamps!  AND, a card called "Angel Faces" with Paper Artsy stamps (available in the USA from Blockheads)!!  OHHH.  I am sure you will enjoy them!  LOL.  See you then!  Love  ya.
Karen