Tuesday, November 29, 2016

Christmas Card with Die Cuts

Hello Dreamers!
Popping in today to share a few Christmas cards I made for my card giving list.  I wanted to use all those pretty decorative glitter papers in my stash this year.  So, I did minimal stamping, but added lots of elements.  This designs has die cut circles (one from velum), holly 3-D stickers, and ribbon. Dots of glitter glue were also added for a bit of sparkle.
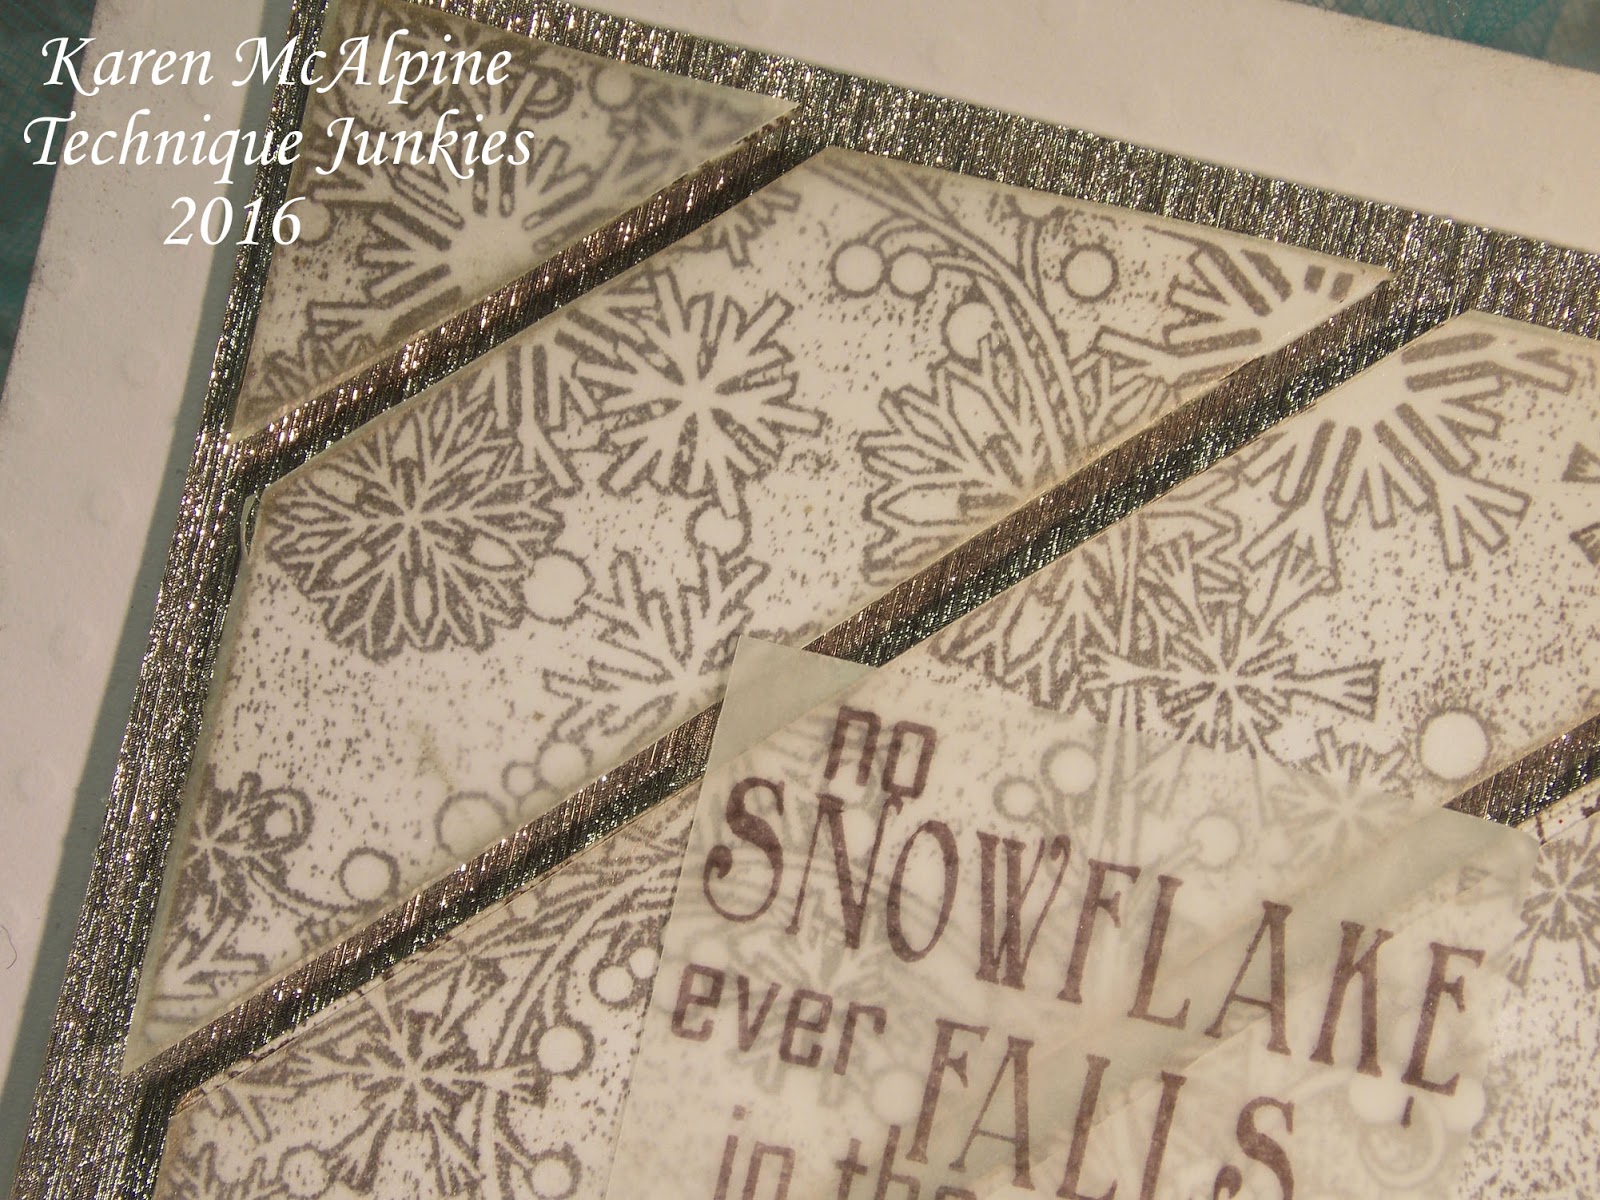


Close up pic

 2nd Version


Challenges for my Christmas cards:
Mod Squad: sparkle it up
Crafty Hazelnut Christmas: use a sentiment
Crafty Hazelnut Pattern Paper: anything with Decorative paper (November)
Simon Wednesday: Christmas to die for

I have to run.  Having lunch today with my nephew and have to make a run to the post office, etc.....   Hope you are having a great day!!  See you next time for more Christmas card ideas.
Karen

Sunday, November 27, 2016

Day 13 - Thirty Days of Christmas Event with Technique Junkies

Hello Everyone!
Welcome back for day 13 of 

The Thirty Days of Christmas 

event with the Technique Junkies!!  

When: November 15 - December 15

The Design Team will be sharing Christmas/Holiday projects using Technique Junkie Stamps.  All Christmas stamps will be on sale during the event--
25% off!!

On my day 13 projects, I used one of the new Christmas Sentiment stamps (which is 25% off) and a non-holiday stamp.  See all The Christmas Sale stamps here.  


It looks like I used two different branch stamps, but I just angled the stamp in the opposite direction for the second card.  Doesn't this Whimsy Branch make a great Holiday card!!??---and just by stamping in red and green.


Materials List:
Stamps: Joyous Noel and Whimsy Branch both from Technique Junkies
Ink: Garden Green Stampin' Up
Red Marker
CS: white, green, and red
DP: MME Found Christmas Pack
Red Narrow ribbon


Make It:

  • Make two card bases from green CS
  • Add a layer of DP to each card
  • On white CS, stamp the Whimsy Branch with Garden Green ink 


  • Add a layer of red CS
  • Add to card base
  • Stamp the sentiment with Garden Green ink
  • Layer with green CS and add to card with dimensional adhesive
  • Tie bows in the ribbon and glue to the branch


Such a fun stamp and it really makes a great Holiday image.
Thanks for stopping by today.  Check out all the projects from the Design Junkies!!
See you again soon!
Karen

Thursday, November 24, 2016

Day 10- Thirty Days of Christmas with Technique Junkies

Hello Everyone!
Time for  a bit more Christmas inspiration!!  Are you making any holiday cards this year??  I have made all my cards --finally I got a bit ahead.  LOL
The Design Junkies have lots of ideas for holiday cards and to get you in the mood for the season,
The Technique Junkies will be celebrating the Holidays with ............

The Thirty Days of Christmas

When: November 15 - December 15

The Design Team will be sharing Christmas/Holiday projects using Technique Junkie Stamps.  All Christmas stamps will be on sale during the event--
25% off!!
On my day 10 project, I used two TJ stamps (which are both 25% off).  See all The Christmas Sale stamps here


Materials List:
Stamps: Whimsical Winter and All is Calm (sentiment)  both from Technique Junkies
Ink: Black dye
Markers
CS: cream, turquoise, dark green
DP: Authentique Tradition Stack
Green ribbon


Make It:
  • Make a card base from dark green CS
  • Add a layer of DP
  • Tie the ribbon around card
  • Ink the stamp with Markers and stamped on cream CS
  • Add a layer of turquoise CS and add to card
  • Stamp sentiment with black ink


More ways to use the Whimsical Winter stamp:


Hope you got your inspiration fix!!  Check out all the Holiday projects on the Design Junkie blog.  

Thanks for stopping by.  

Happy Thanksgiving!!!

Karen McAlpine

Tuesday, November 22, 2016

Grateful Thanksgiving Cards

Hello Everyone,
I am keeping busy getting ready for hosting Thanksgiving dinner on Thursday. Today I have to clean my house and hopefully I will have some energy left to rake up a few leaves outside.
I wanted to share another set of Thanksgiving cards that I made to send to family and friends.
The stamps are from Stampin' Up.  I used a kaleidacolor ink pad to stamp the tree.  Then strips were cut from Fall colored papers.


Entered in the:
Paper Girls Challenge: Grateful
Cards in envy: thank you
Love to Scrap: anything goes

Hope you are having a great day. Well, I better get to that cleaning.  Oh, but I must have coffee first.  See you next time with a Christmas card.
Karen

Monday, November 21, 2016

Thanksgiving Cards

Hello Everyone,
Getting ready for Thanksgiving here.  We are hosting dinner this year.  But, everyone brings something and that makes things easier.  I will be heading out to the store this morning to pick up all my ingredients.
So, thought I would take a few minutes to post a couple more Thanksgiving cards.  I used dry embossing folders to create the backgrounds.


Challenges for my Thanksgiving Cards:
Mod Squad: ribbons
Fashionable Stamping: winter or Fall

See you soon for one more Fall card and then Christmas Cards!!  Hope you have a super day!
Karen

Tuesday, November 15, 2016

Special Christmas Event with Technique Junkies

Hello Everyone!
I am just popping in today with an announcement of a fun Holiday event.
The Technique Junkies will be celebrating the Holidays with ............

The Thirty Days of Christmas

When: November 15 - December 15

The Design Team will be sharing Christmas/Holiday projects using Technique Junkie Stamps.  All Christmas stamps will be on sale during the event--
25% off!!

And to get you in the Holiday mood, I have a few Christmas cards to share.  


For this collection of cards, I decided to use some of those gorgeous DPs in my stash.  The Technique Junkies sentiment "All is Calm" was stamped with Teal Zeal Momento ink; die cut and added to the DP backgrounds.


The second collection of vintage card uses the TJ stamp "Angel with Lute".  Which, I will add, is a great stamp for vintage style cards.  I made five versions of this card for my Christmas card giving basket.  I used dry embossing, decorative papers, ribbons, and distress inks to make the cards.


The stamps on these projects will be 25% off   Nov 15-  Dec 15!!!  
See you soon with more Holiday inspirations!!
Karen

Sunday, November 13, 2016

Acorns and Thanksgiving

Hello Dreamers!
 I have been busy working in the yard the last three days.  I planted 400 bulbs!  Phew!  That was a job!  But, it is all done now.  I will have to wait until March or April to see the fruits of my labor.  I think it will be worth the wait.

So, today I am taking a few minutes to share a Thanksgiving card with you.  This card came together by combining die cut acorns, a paper doily, ribbon, twine and pretty papers.  


 The acorn stamp and die is from Stampin' Up, sentiment from Amuse Studios.


 Inside:Stamps from Stampin' Up


This is a card I made to send to a family member.   I will be sharing all the Thanksgiving cards I made over the next few weeks. I will also be posting Christmas cards.  So, lots of fun here in Dreamland!


Challenges:
Mod Squad: thankful
Simon's Wednesday: thanksgiving/thanks


So happy you stopped by!
Karen

Thursday, November 10, 2016

Fall Colors and Trees with Technique Junkies

Hello Dreamers,
We are really enjoying Fall weather here in Michigan, USA.  The leaves are turned and falling--now I have to rake--again!  Oh well, the trees are so pretty.  And, with all the beautiful colors outside, I just had to use those same colors on my projects.  I made two Fall cards using stamps from the Technique Junkies November New Release .


Materials List:
Stamps: Creaking Trees and Glowing Branches both from Technique Junkies
Ink: Archival Black and Sepia
CS: Kraft, black, and orange
Tulle 
Ribbon


Make It:

  • Make a card base from kraft CS
  • On orange CS stamp the branches of the Glowing Branches stamp with Sepia ink; set aside
  • On kraft CS, stamp Creaking Trees with black ink; add a layer of black CS


  •  Add stamped trees piece to orange background
  • Wrap tulle around this unit; tie in a knot and then add to card base
  • Tie ribbon around tulle


*******************


On the second card, a dry embossed background was used.  Distress the dry embossing with Vintage Photo Distress ink.
Add ribbon in a criss-cross pattern.  


Great stamps! I just love this stamp.  I would use this for Thanksgiving too.
So glad you stopped by today.   There are lots of fun Fall and Winter projects coming up over the next two months.  Technique Junkies is having a Thirty Days of Christmas Event starting Nov 15.   I will have more info on that Friday.    So, I will see you soon!!
Karen

Monday, November 7, 2016

Funky Ladies with Lost Coast Designs

Hello Dreamers,
Hope you are enjoying Fall.  I am working on getting all my spring flowering bulbs in this week.  So, that is fun.....

But, talk about fun----
Going Funky today with two fabulous ladies from Lost Coast Designs.  Check them out!


Materials List:
Stamps: Many Moods of Mona Set- Victorian Mona from Lost Coast Designs
Ink: black Archival
CS: white, dark green, light green
Background made with a mono printing plate, acrylic paints, and dry embossing folder
Ribbon

 Make It:

  • Make a card base from light green CS
  • Add a layer of dark green CS
  • Trim a piece of handmade background paper to size
  • Stamp Mona with black Archival ink on the background paper and add to card
  • Stamp the hat on green CS and fussy cut bow
  • Add to card and add ribbon


Ohh so stunning in her Victorian chapeau!!


Here is another fab lady with wings and parasol all mysterious in the arched doorway.

Materials List:
Stamps: Parasol and Wings Lady, Travel Quotes, and Arches and Door Background all from Lost Coast Designs
Inks: Blue, black, and Grey dye
CS: White, blue, gray, teal, and black
Gold Spray Ink
Versa Magic inks: Turquoise Gem and Oasis Green 

Make It:

  • Make card bases in grey or teal CS and layer with a second color
  • Stamp the Arches and Door with Gray ink on white CS
  • Stamp the lady with blue ink
  • Add Gold spray ink
  • Stamp sentiment with black ink


Another color idea:
Thanks for stopping in today!  Hope to see you soon.  Lots going on in Dreamland this month!!  Check back for more Holiday projects.  I have some Fall things and winter things coming up!!   See you soon.
Karen

Tuesday, November 1, 2016

Falling Snowflakes Holiday Card- Technique Junkies Blog Hop

Hello Everyone!
Welcome Hoppers!!  Today is the Technique Junkies November New Release Blog hop!!  Another fabulous release collection from Technique Junkies!!  All the new releases will be on sale thru Nov. 8, 2016 ----15% off!!

You have arrived here from Cheri's Blog.  Great project from Cheri!!

You may wish to start at the beginning of the hop with the Design Junkies blog
for more details and the blog hop role.

I used two of the November new releases to make a glittery winter card.  I will use this as a holiday card, but it could also be used as a winter thinking of you or birthday.  For the layout design, I used one of the Technique Tutorials from the Dec. 2014 Newsletter.  Take a look:


Materials List:
Stamps: Snow Swirls and Snowflakes Fall (sentiment) both from Technique Junkies
Ink: black dye; Platinum Color Box pigment
CS: White, silver and white dry embossed heavy paper - DCWV
Velum
White Tulle
Blue and Silver Ribbon
Dimensional adhesive


Make It:

  • Make a card base from white dry embossed heavy paper
  • Stamp the Snow Swirls with black die ink on white CS and trim to a 4" square
  • Cut the silver CS into a 4.25" square
  • Follow the tutorial for the Diagonal Pooped Strips to complete the center of the card----Note: I added a layer of velum to each strip


  •  Cut 4" square from Velum and cut into strips in the manner described in the tutorial
  • Distress the edges of the Snow Swirls stamped srips and the velum with platinum pigment ink
  • Glue the velum pieces to the top of each stamped strip
  • Add to the base with dimensional adhesive in the manner described in the tutorial


  • Stamp the sentiment on velum with black ink; cut to size and glue to the front of the card
  • Wrap tulle around the card and tie in a knot
  • Tie ribbon in knot around tulle


Super pretty!!  I think this would make a great holiday decoration too.  I am going to place it on an easel and set on an end table.  Oh so fun....

Now----
Your next step on the hop is Kathy, the Crafty Nurse!  And, you will enjoy checking out her super project!!  

Don't forget to pick out your favorites and grab them during the sale!!

***********
The Design Junkies also are having a Christmas Event starting Nov 11.  We are all making Holidays projects for the 30 Days of Christmas!!  There is a special sale involved too!!  Check back on Nov 11 for all the details!  I think you are going to enjoy all the holiday ideas and inspiration!! ************

Thanks for stopping by!  Enjoy the rest of the hop!!
Karen McAlpine