I am back today with the one of the ribbon ideas I have been promising! I will show you how to make pretty ribbon rosettes that can be used in a variety of ways. I added mine to a card, but they could be used on a headband, jewelry, a scrapbook page, alters items, etc.... Let's look at the finished card first.

Materials List:
Blue Wired Crinkle Ribbon (AW03) May Arts
Stamp: Flower Text (S5506) Hero Arts
Ink: Onyx Black VersaFine
Ranger Distress Markers: Crushed Olive, Shabby Shutters, Mustard Seed, Weathered Wood, Faded Jeans
Cardstock: white, black, and Not Quite Navy (Stampin' Up)
Yellow Crystal Stickers 10 mm-Mark Richards
Fabri-Tac Glue
Sharp Scissors

Instructions:
- Cut a length of the Blue Wired May Arts Ribbon
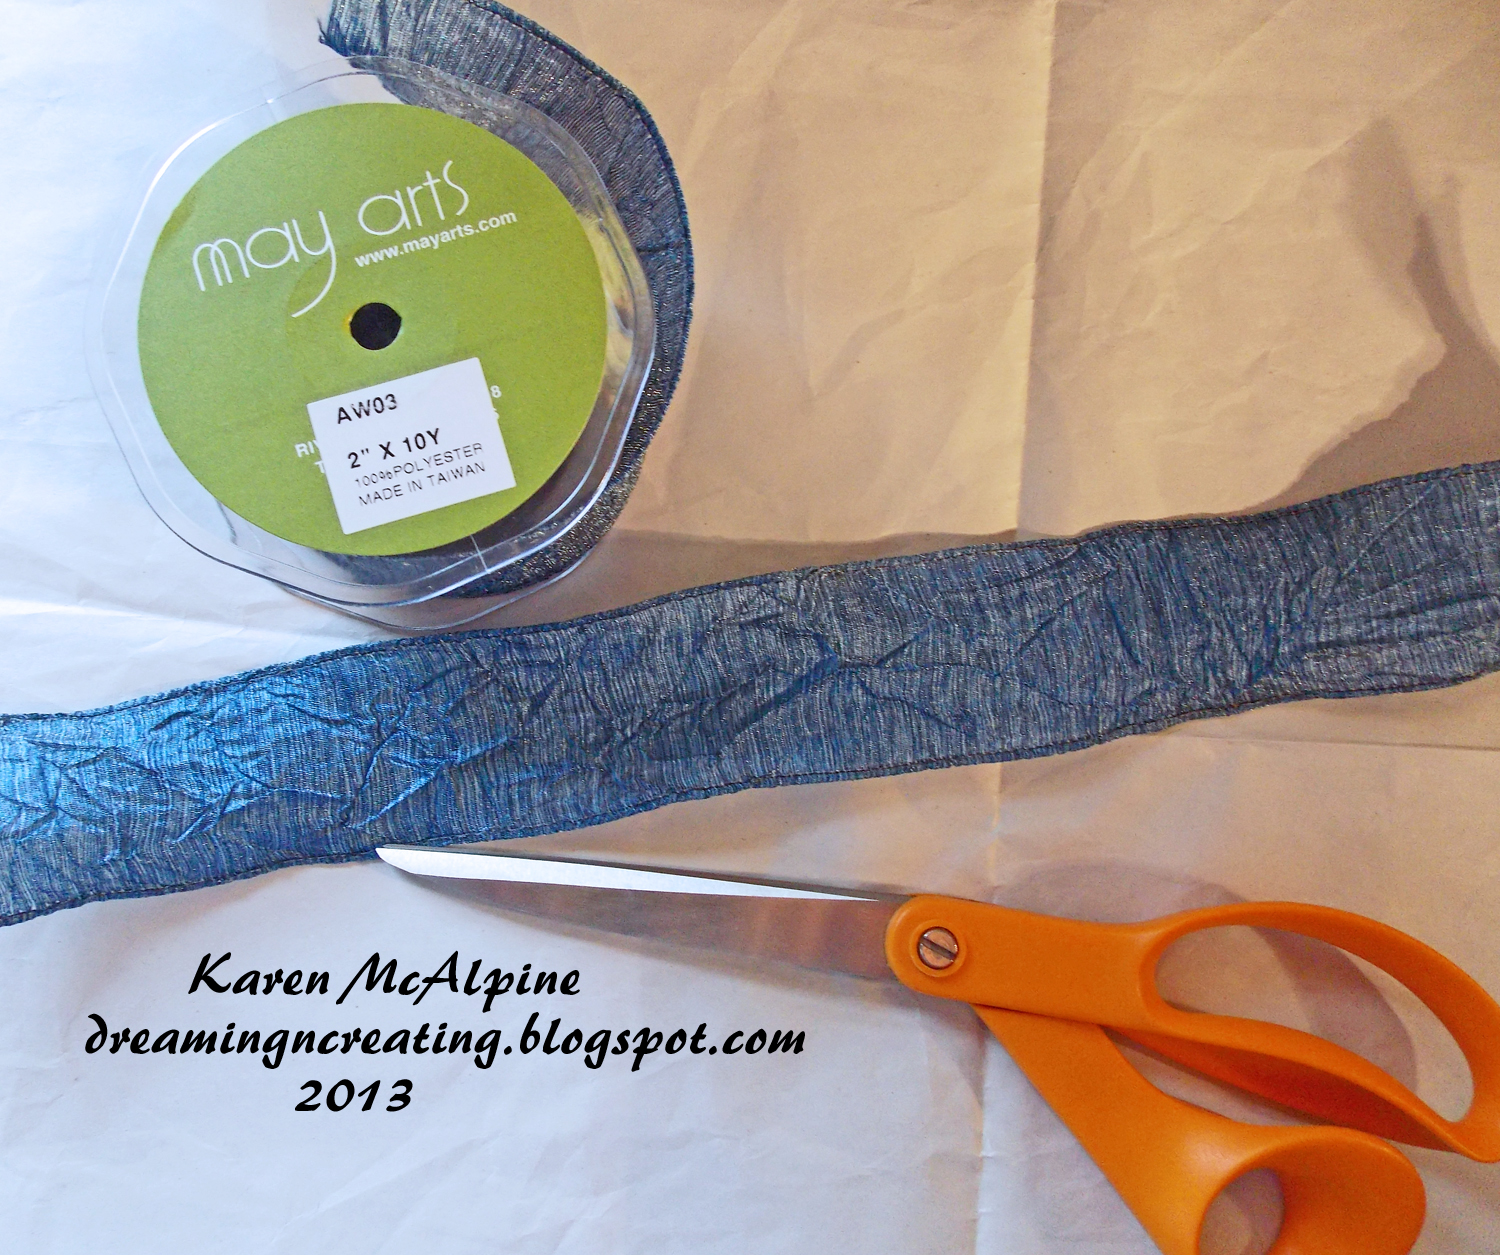
- An eleven inch piece of ribbon will make 2 two inch rosettes

- Cut the ribbon in half lengthwise with a sharp pair of dressmaking shears

- Sew the two short ends together with needle and thread ( I used regular sewing thread)
- Make a small knot on the top edge so that the stitches made on the short end don't gather up

- Run gathering stitches down on long edge

- Begin to pull the stitches to gather the ribbon

- Pull the thread to tightly gather the ribbon
- Now your rosette has taken shape.

- Take several more stitches across the center of the rosette to secure the ribbon
- Knot the thread and cut the thread

That's it! Wasn't that easy!! Now you are ready to decorate a project with your hand made embellishment. ***If you use a narrower ribbon, skip the step of cutting the ribbon in half lengthwise.
Here is how I completed my Card:
- Make a card base with Not Quite Navy CS
- Layer with Black CS
- Stamp the Hero Arts stamp on white CS with Black Onyx ink

- Color the flowers with Distress Markers with the colors listed on the Materials list
- Add to the card base
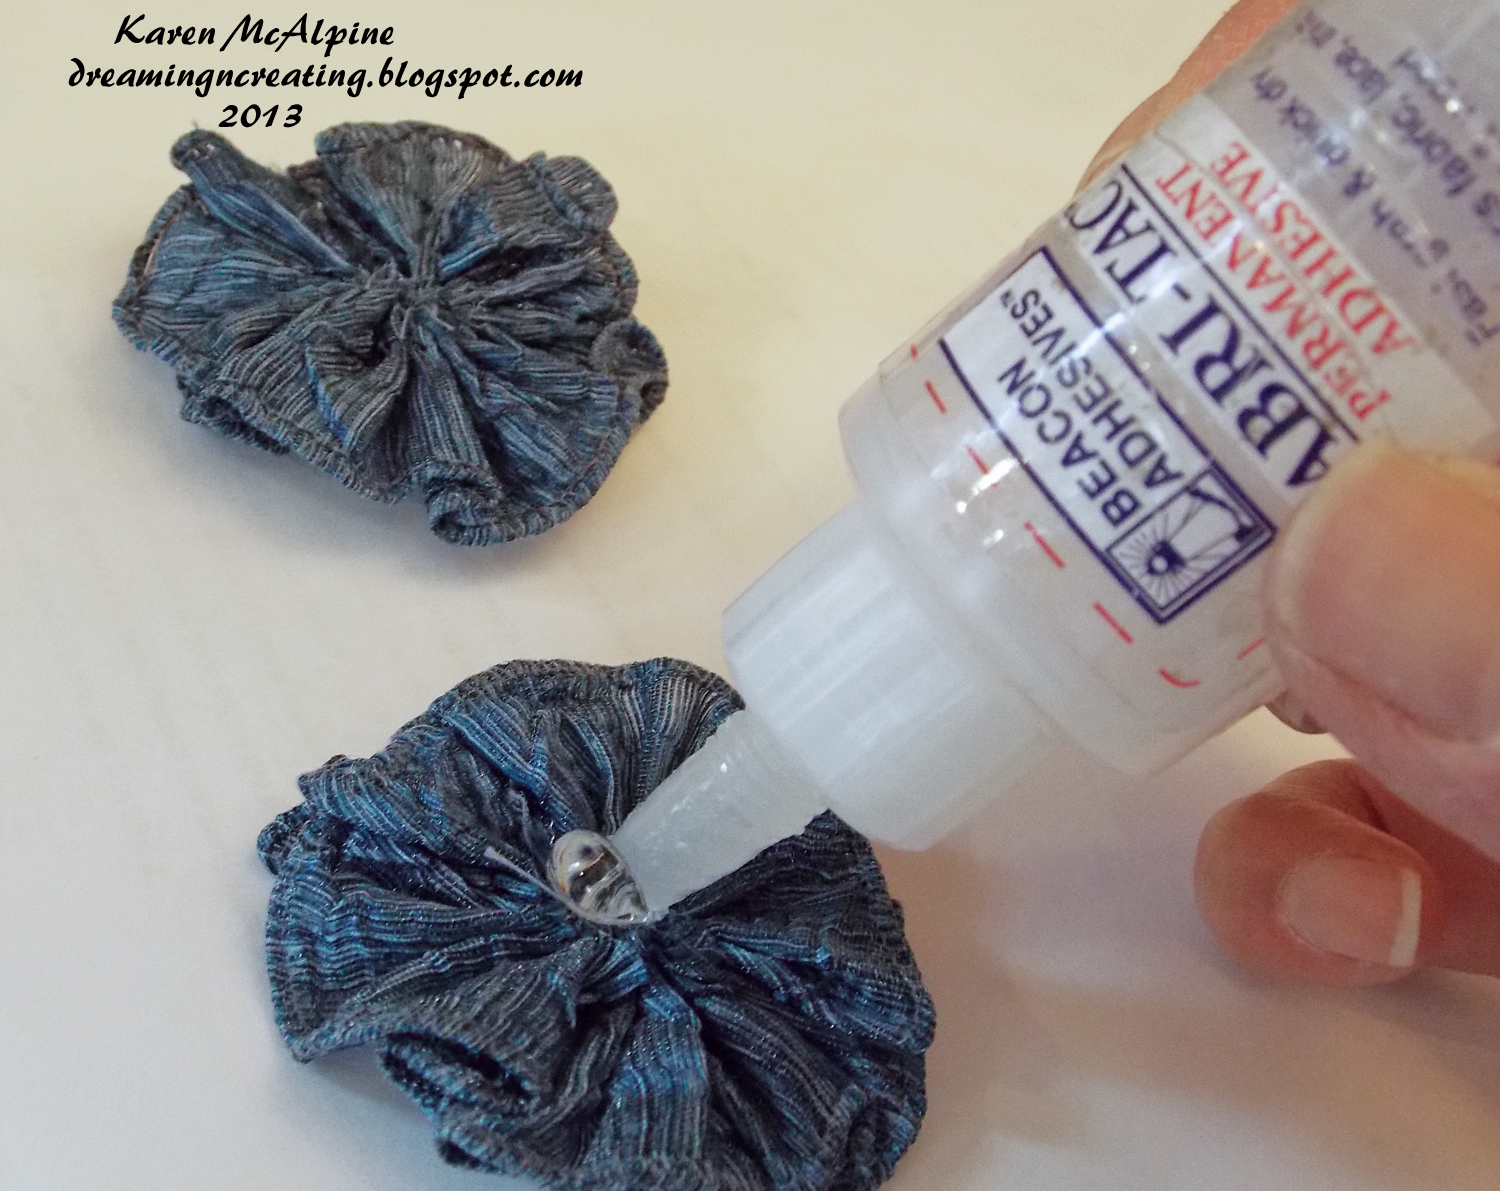
- Use Fabri-Tac glue (or another strong craft glue) to attached the rosettes to the card
- Add the large Yellow gems in the center of the rosettes ( I used the Fabri-Tac glue on the gems too)

Wouldn't you love to receive this card?? I think it would be great for a birthday, get well, or a thinking of you. You could make a bunch of the rosettes ahead of time and keep them for future use. I like to keep a few on hand. But, sometimes I make them specifically for a particular project.
I hope you will try to make these fun hand made embellishments.
*****A Few fun Challenges for my Folk Art flowers
Challenges 4 Everybody: anything goes
Stamping Sensations: summer blooms
ABC Challenge: O is for open
Crafting Musketeers: use a stamp
Creative Moments: lots of layers
************
I will be back later with an idea that uses some of those ribbon scraps!! Don't throw those away!!
*****A Few fun Challenges for my Folk Art flowers
Challenges 4 Everybody: anything goes
Stamping Sensations: summer blooms
ABC Challenge: O is for open
Crafting Musketeers: use a stamp
Creative Moments: lots of layers
************
I will be back later with an idea that uses some of those ribbon scraps!! Don't throw those away!!
I wish you a happy day. Love ya.
Karen
