Wednesday, June 12, 2013

Early Summer in the Garden

Hi Dreamers!!
I thought you might enjoy a peek at my garden this week.  The peonies were in full bloom and the poppies are starting to make a show.  We have had several days of rain and that knocked all the peonies down.  So, I am so glad I snapped these pics when I did!!  Take a look at nature's splendor.


Pretty gorgeous, isn't it!!!  See you tomorrow for some crafty goodness.  Love ya.
Karen

Ancient Ornaments with Blockhead Stamps

Hi Dreamers!
I have been away for a few days.  My poor dear husband has pneumonia and has been pretty sick.   I snuck in a few hours here and there to make a few things and do a bit more organizing in my studio room.  I picked up a few more containers for markers.  On today's card, I used  stamps from Blockheads Paper Arts to make this dramatic vintage card.


Materials:
Stamp: Ancient Ornaments from Blockheads  (the other larger stamp is from a retired Blockheads sheet)
Ink: Mushroom Adirondack
Distress Inks: Bundled Sage and Vintage Photo
CS: dark green, black, kraft, and cream
Old potato bag--the netty kind


Instructions:

  • Make a card from dark green CS
  • Lay a netty potato bag on top of the card
  • Apply Bundled Sage DI by pouncing an applicator tool over the netty bag.  (Wipe ink off bag with a rag)
  • Distress edges of card with Vintage Photo DI


  • Stamp the two images with Mushroom Adirondack ink on kraft and cream CS
  • Layer each with black CS
  • Add to card front


Inside


  • Stamp the Ancient Ornament again on the inside on cream CS
I will stamp a sentiment on the inside later; when I use the card.  I will send it to someone who likes vintagey things.   

I will be back later with some photos of my garden.  And, some pretty cool cards made with Lost Coast Design stamps.  See you then!!  Love ya.
Karen

Thursday, June 6, 2013

Ribbon Dragonfly Storage Jar

Hi Dreamers!
Today, I have a fun storage idea to share!   I found some gigantic glass jars (the kind used for canning) at my local  craft store last week.  I saw lots of scope in them.  LOL  I knew they would be perfect for storing loose items.  Here are the 9 1/2" tall jars:


Materials List:
Glass Jars with screw top lids (I found these at Michaels Craft Store)
Bordered Orange Sheer Ribbon from May Arts (356-15-28)
Peach Satin Ribbon
Scraps of CS
Dragonfly die cut from Sizzix


I decorated the jar with ribbon dragonflies!  I used a Sizzix die to cut out the dragonflies.  Let's get started making our decorated storage jar.

Instructions:

  • Place ribbon on top of the die and cut.  I covered the die with a scrap piece of CS before running through my Cuttlebug just to hold the ribbon in place


  • Cut about 12 dragonflies from the ribbons.  Cut the same amount from cardstock


  • Cut off the heads from the ribbon dragonflies.  You can leave the body on some or cut it off
  • Cut the wings off the CS dragonflies
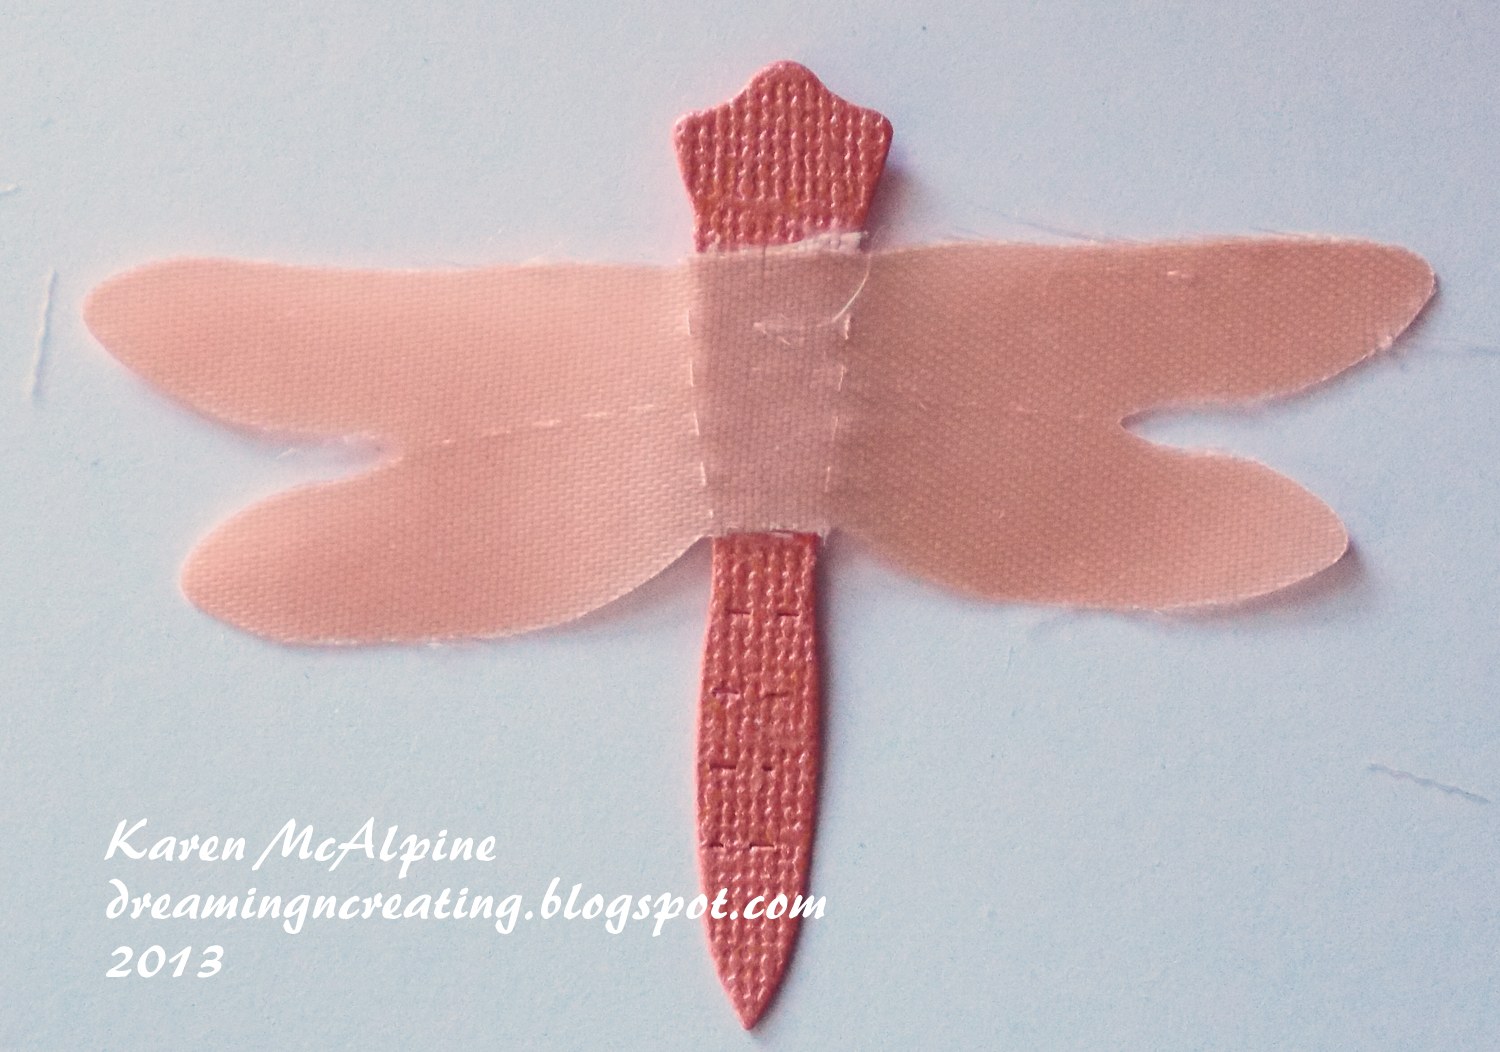
  • Glue the ribbon wings to the CS bodies


  • Attach the dragonflies to the jar with dimensional adhesive all around the jar
  • Tie ribbon around the neck of the jar


  • Decorate the top of the jar with a circle cut from yellow CS, a big bow and another dragonfly---for this dragonfly I did not cut away the CS wings, but left them to make the dragonfly more stable


Now, I have a super pretty storage jar!  And, guess what I decided to store in my Dragonfly Jar!!  You guessed it!  My ribbon scraps!  How Fun!!


I think this jar would look great with spools of thread or buttons.  You could use any size jar as well.  Smaller ones would be great to store Markers and pens.

*******A Few Fun Challenges for my Dragonfly Storage Jar**
Make My Monday: ribbon or lace
Paper Playtime: 2 or more ribbons
DL. Art: anything goes
CRAFT challenge: anything but a card
********


Well, I guess that is it for me today.  See you next time!  Love ya.
Karen

Wednesday, June 5, 2013

Use Those Ribbon Scraps to Embellish Cards

Hi Dreamers!
I am back again today with a fun idea for using some of those small bits of ribbon that we all have in abundance.  Don't throw those out!  Use them to embellish your projects.  I gathered up ribbon scraps in oranges, reds, browns, and cream to jazz up a card.  Take a look at the card!---Very Jazzy!!


Finished size: 4 1/2" x 6 3/4"


Materials List:
Willow colored Crinkle Silk ribbon from May Arts
Cream Bullion Trim from May Arts
Scrap Ribbons in orange, reds, brown, and cream
Stamp:Two Vine Scroll (CG174) Hero Arts
Ink: Jet Black Archival (Ranger)
Crafters Workshop Template - Cosmic Swirls
Spray inks
Fabri-Tac Glue
Cardstock: cream, orange, and  black


Instructions:
  • Make a black card base and layer with orange CS
  • Make the background of the stamped piece by placing the Cosmic Swirls template over cream CS and spraying with spray inks
  • When the background is dry, stamp the Hero Arts stamp with Jet Black ink
  • Add stamped piece to center of card with dimensional adhesive 


  • Starting at the bottom on the card, begin gluing ribbon by folding  the small lengths of ribbon in half and placing a drop of glue on the ends of each piece
  • Continue up the sides and finishing with the top of the card
  • Trim the ends of the ribbons


I  used only scraps for the entire surface, except for the lacy trim and the bow at the top of the card.  I did have to cut these two pieces.  To cover the ends of the ribbons at the top of the card, I glued a piece of the lacy bullion trim.  Tie the wide willow colored silk May Arts ribbon in a bow and glue to the card.


So, now I know you won't throw out those little bits and pieces of your beautiful ribbons!  This idea would also be great on scrapbook pages, altered items, and small wall hangings.  I am actually going to use this piece as a small wall hanging.  I can tuck it in a small space for a pop of color.  I bet you are saying to yourself, "But, Karen, how do I store all my ribbon scraps?"  Stayed tune for my next post!  I have a fun idea for storing your ribbon scraps coming up! And, you guessed, I did use ribbon!!  LOL


******How about a few fun Challenges for my Ribbon Scrap Art
Craft-room Challenge:use your scraps
Loves Rubber stamps: anything goes
Paper take Weekly: anything goes
Use It Tuesday: anything goes
Simon Says Stamp and show: use things beginning with "S"----I used scraps, swirls, stamping

Okay, I will see you next time for my ribbon scrap storage idea!!  Have a lovely day.
Love ya.
Karen

Ribbon Rosettes Tutorial and Card

Hi Everyone,
I am back today with the one of the ribbon ideas I have been promising!  I will show you how to make pretty ribbon rosettes that can be used in a variety of ways.  I added mine to a card, but they could be used on a headband, jewelry, a scrapbook page, alters items, etc....  Let's look at the finished card first.


Materials List:
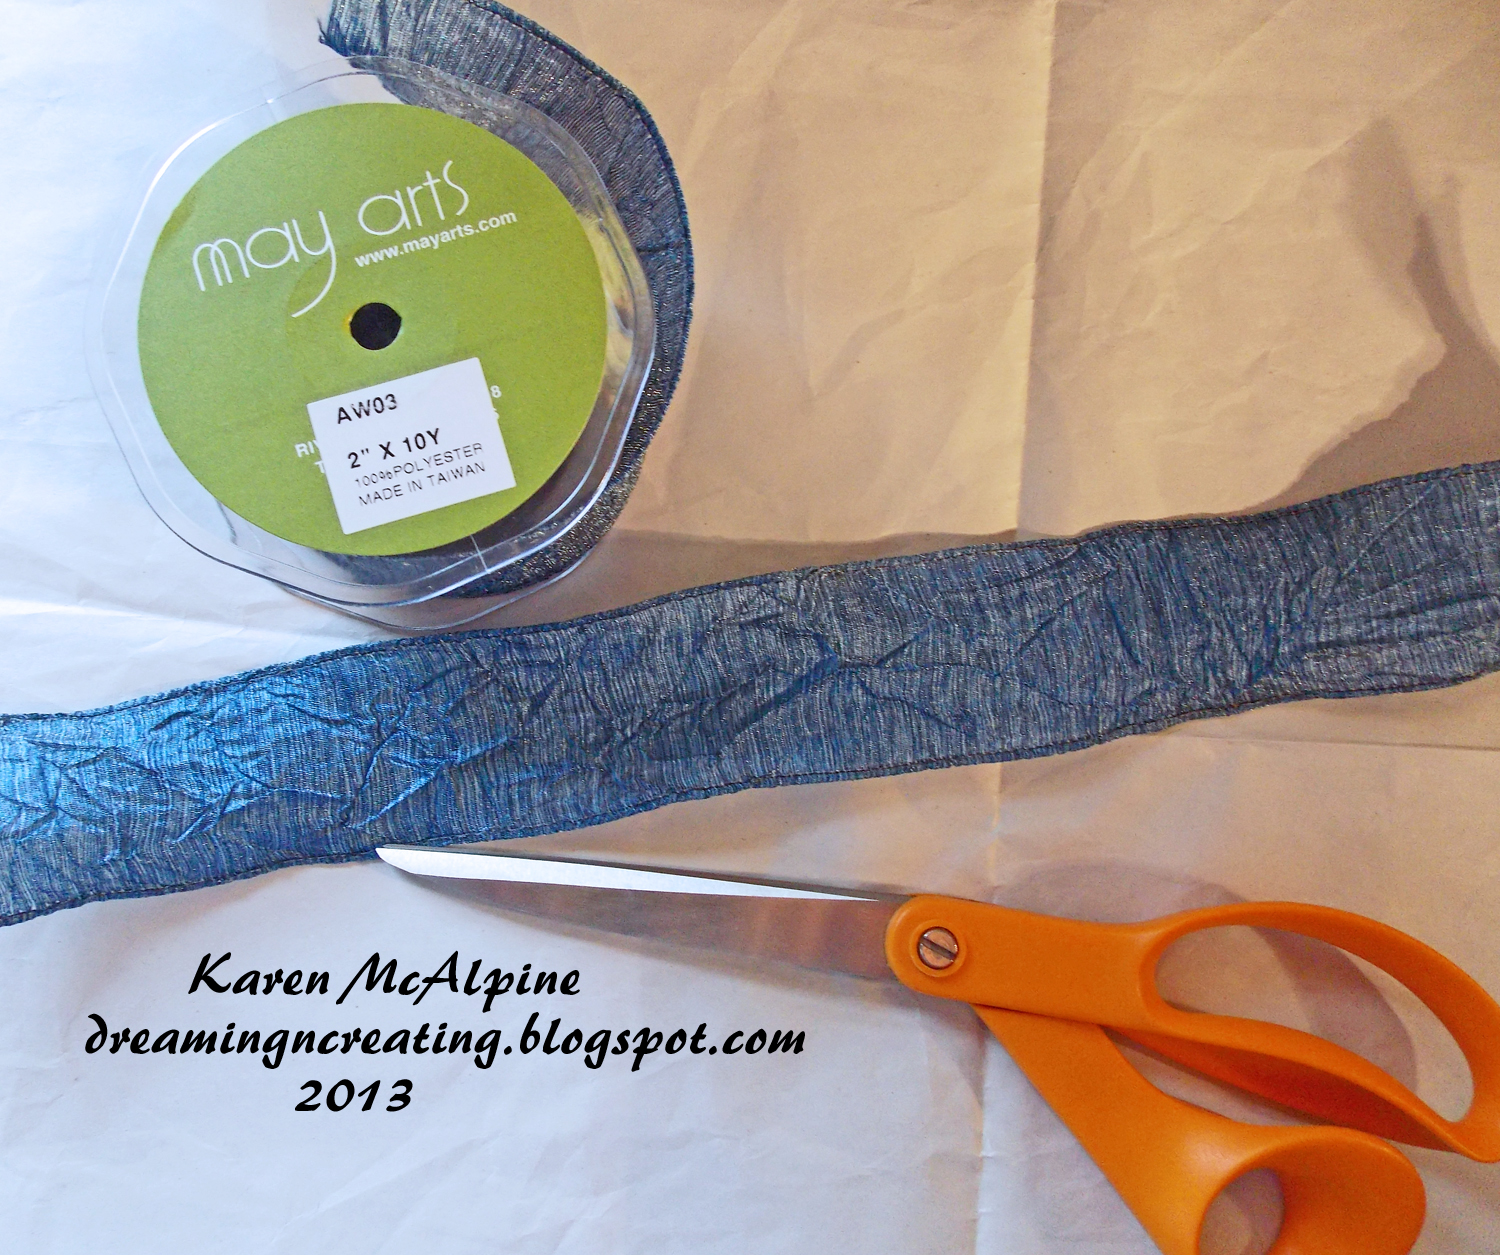
Blue Wired Crinkle Ribbon (AW03) May Arts
Stamp: Flower Text (S5506) Hero Arts
Ink: Onyx Black VersaFine
Ranger Distress Markers: Crushed Olive, Shabby Shutters, Mustard Seed, Weathered Wood, Faded Jeans
Cardstock: white, black, and Not Quite Navy (Stampin' Up)
Yellow Crystal Stickers 10 mm-Mark Richards
Fabri-Tac Glue
Sharp Scissors


Instructions:


  • Cut a length of the Blue Wired May Arts Ribbon   


  • An eleven inch piece of ribbon will  make  2 two inch rosettes


  • Cut the ribbon in half lengthwise with a sharp pair of dressmaking shears


  • Sew the two short ends together with needle and thread ( I used regular sewing thread)
  • Make a small knot on the top edge so that the stitches made on the short end don't gather up


  • Run gathering stitches down on long edge


  • Begin to pull the stitches to gather the ribbon


  • Pull the thread to tightly gather the ribbon 
  • Now your rosette has taken shape.


  • Take several more stitches across the center of the rosette to secure the ribbon 
  • Knot the thread and cut the thread


That's it!  Wasn't that easy!!  Now you are ready to decorate a project with your hand made embellishment.  ***If you use a narrower ribbon, skip the step of cutting the ribbon in half lengthwise.  


Here is how I completed my Card:
  • Make a card base with Not Quite Navy CS
  • Layer with Black CS
  • Stamp the Hero Arts stamp on white CS with Black Onyx ink


  • Color the flowers with Distress Markers with the colors listed on the Materials list
  • Add to the card base


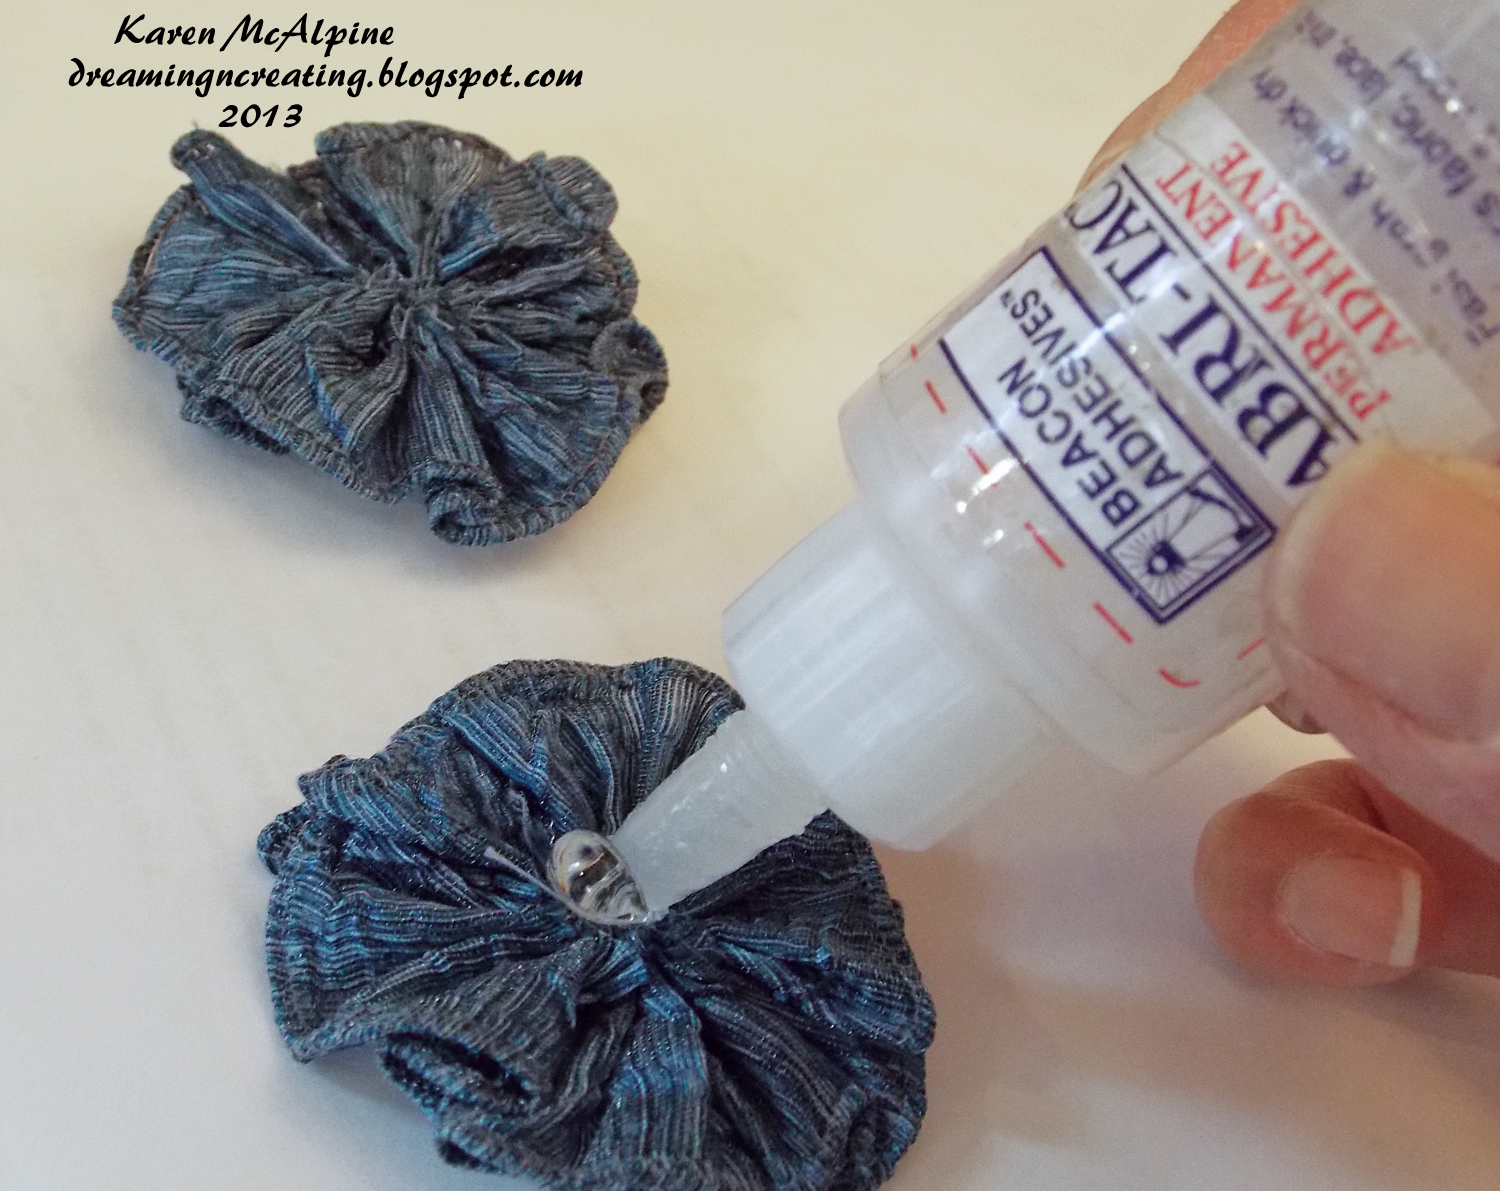
  • Use Fabri-Tac glue (or another strong craft glue) to attached the rosettes to the card
  • Add the large Yellow gems in the center of the rosettes  ( I used the Fabri-Tac glue on the gems too)


Wouldn't you love to receive this card??  I think it would be great for a birthday, get well, or a thinking of you.  You could make a bunch of the rosettes ahead of time and keep them for future use.  I like to keep a few on hand.  But, sometimes I make them specifically for  a particular project. 
 I hope you will try to make these fun hand made embellishments.  

*****A Few fun Challenges for my Folk Art flowers
Challenges 4 Everybody: anything goes
Stamping Sensations: summer blooms
ABC Challenge: O is for open
Crafting Musketeers: use a stamp
Creative Moments: lots of layers
************

I will be back later with an idea that uses some of those ribbon scraps!!  Don't throw those away!!
I wish you a happy day.  Love ya.
Karen
Tuesday, June 4, 2013

Shabby Circles with Blockheads Stamps

Hi Dreamers!
Here I am going all shabby chic again!  Today's project is Shabby Circles made with Blockheads stamps that coordinate with Spellbinders die cuts.  I used a soft earthy color palette of  yellow and green.


Materials List:
Stamps: Classic Circles, Small  and Verses, Special Delivery from Blockheads Stamps
Inks: Ginger, Pesto, and Butterscotch Adirondack; Mango Madness and Wheat Versa Magic
Standard Circles, Small Spellbinders Nestabilities die
CS: cream, yellow, green
Scraps of fabric
Pearls


Instructions:

  • Make a square card from green cardstock and rough up  the right edge
  • Layer with yellow CS
  • Distress the yellow layer with Versa Magic inks
  • Add scraps of fabric to the lower edge


  • Stamp the Classic Circles stamp three times with each of the Adirondack inks
  • Cut with three different sizes of circle dies
  • Layer the circles on top of each other
  • Add to the card front with dimensional adhesive
  • Add pearls


  • Tear a strip of cotton fabric and tie in a bow
  • Add to the card


 Inside


  • On the inside, stamp one circle with Butterscotch ink
  • Stamp Thank you from the Verses stamp set with Ginger ink and cut with circle die

This stamp made a nice shabby Thank you card.  I can also see this as a Christmas card in red and green.  Or, a wedding card in blues and gray with satin ribbon.  

And, how about a few select challenges?!!
Simon Says stamp: anything goes
Loves Rubber stamps: anything goes
Papertake Weekly: anything goes
Shopping our stash: no DP
Love to Scrap: use rubber stamping


Well, I had a fun day working in the garden.  Put my dahlia bulbs in and planted some veggie plants.  Did lots of other dirty jobs like pull out brick edging, pull out all the  grass and weed, put the bricks back.  Looks really good now.   I will see you tomorrow with some ribbon ideas!  Have a great day.  Love ya.
Karen

Saturday, June 1, 2013

June Stampsmith Challenge: Alter It!

Hi Dreamers!
I am happily cool today!  The new air conditioner is all installed and humming along nicely!  Hooray!
And, today is my 28th wedding Anniversary!  Going to go out for dinner tonight to celebrate.

As it is the first of the month, it is time for a new Stampsmith Challenge.   This month we are challenging you to Alter a box, bag, or book using at least one Stampsmith Stamp.   The prize is a $21 gift certificate!

Here is my Design Team Altered project:


I altered a 4 1/2" Paper Mache box (photo below).  I like the way the paper mache takes the ink.   I did try to stamp directly onto the lid---which did not work well at all.  LOL. I was able to "fix" that by covering the lid with Kraft CS after I did all the stamping.


Before


Materials:
Cardstock: glossy white, Kraft, dark green
Ink: Red Pepper and Butterscotch Adirondack; Mustard Seed and Vintage Photo Distress, Black Dye
Buttons
Fabri-Tac Glue
Die Cuts: Fence from My Favorite Things, Grass from AMuse Studios
Ribbon


Instructions:

  • Stamp the Sunflower on Glossy white CS by applying Butterscotch ink on the center of the stamp and then Red Pepper over the rest of the stamp.  
  • Heat set ink
  • Cut out Sunflower and Distress lightly with Mustard Seed and Vintage Photo ink
  • Stamp "Botanica" sentiment and bees with Black dye ink
  • Cut a circle from Kraft CS the same size as the lid.  (Use the lid to draw the circle on the CS.)  
  • Apply Red Pepper and Butterscotch ink to the Kraft CS circle.
  • Glue the cut out Sunflower onto the Kraft CS circle


  • Apply Red Pepper and Mustard Seed inks to the box--cover completely with inks.  I used a Ranger applicator tool and it worked great.  
  • Glue the Sunflower and Kraft CS piece to the top of the lid
  • Glue assorted brown and cream buttons to the lid.  I used Fabri-Tac glue.
  • Tie a bow and glue to top of lid


  • Glue a piece of ribbon to the lip of the lid
  • Tie another bow and glue to lip of lid
  • Die Cut fence from Kraft CS and make faux wood by distressing  with Red Pepper and Vintage Photo inks
  • Glue to side of box


  • Die cut grass from dark green CS and glue to box over the fence
There!  Wasn't that fun??!!  Now, I can fill my little box with all kinds of things.  If I need a quick gift, I can fill it with chocolates.  Or, I could use my box to store buttons, or paper clips, or trinkets.  A very useful thing, my little box.  I hope you will give altering a try and link up your project on the Stampsmith Challenge blog.  And, check out our Guest Designer Paula Tidman's altered book.  


************************************************************
******I would like to enter my Botanica box in the Fashionable Stampers Alter It Challenge.
And,
Simon Says Stamp and Show: wood--my fence is made of wood
Rogue Redhead Designs: flowers***********


Well, I guess that is all for now.  I have some fun things planned for Sunday and may not have time to post.  So, for sure I will be back on Monday with a few fun ways to use ribbon!!  Doesn't that sound fun?!! 
I hope you have a great weekend!!  Love ya.
Karen