I am back today with the one of the ribbon ideas I have been promising! I will show you how to make pretty ribbon rosettes that can be used in a variety of ways. I added mine to a card, but they could be used on a headband, jewelry, a scrapbook page, alters items, etc.... Let's look at the finished card first.

Materials List:
Blue Wired Crinkle Ribbon (AW03) May Arts
Stamp: Flower Text (S5506) Hero Arts
Ink: Onyx Black VersaFine
Ranger Distress Markers: Crushed Olive, Shabby Shutters, Mustard Seed, Weathered Wood, Faded Jeans
Cardstock: white, black, and Not Quite Navy (Stampin' Up)
Yellow Crystal Stickers 10 mm-Mark Richards
Fabri-Tac Glue
Sharp Scissors

Instructions:
- Cut a length of the Blue Wired May Arts Ribbon
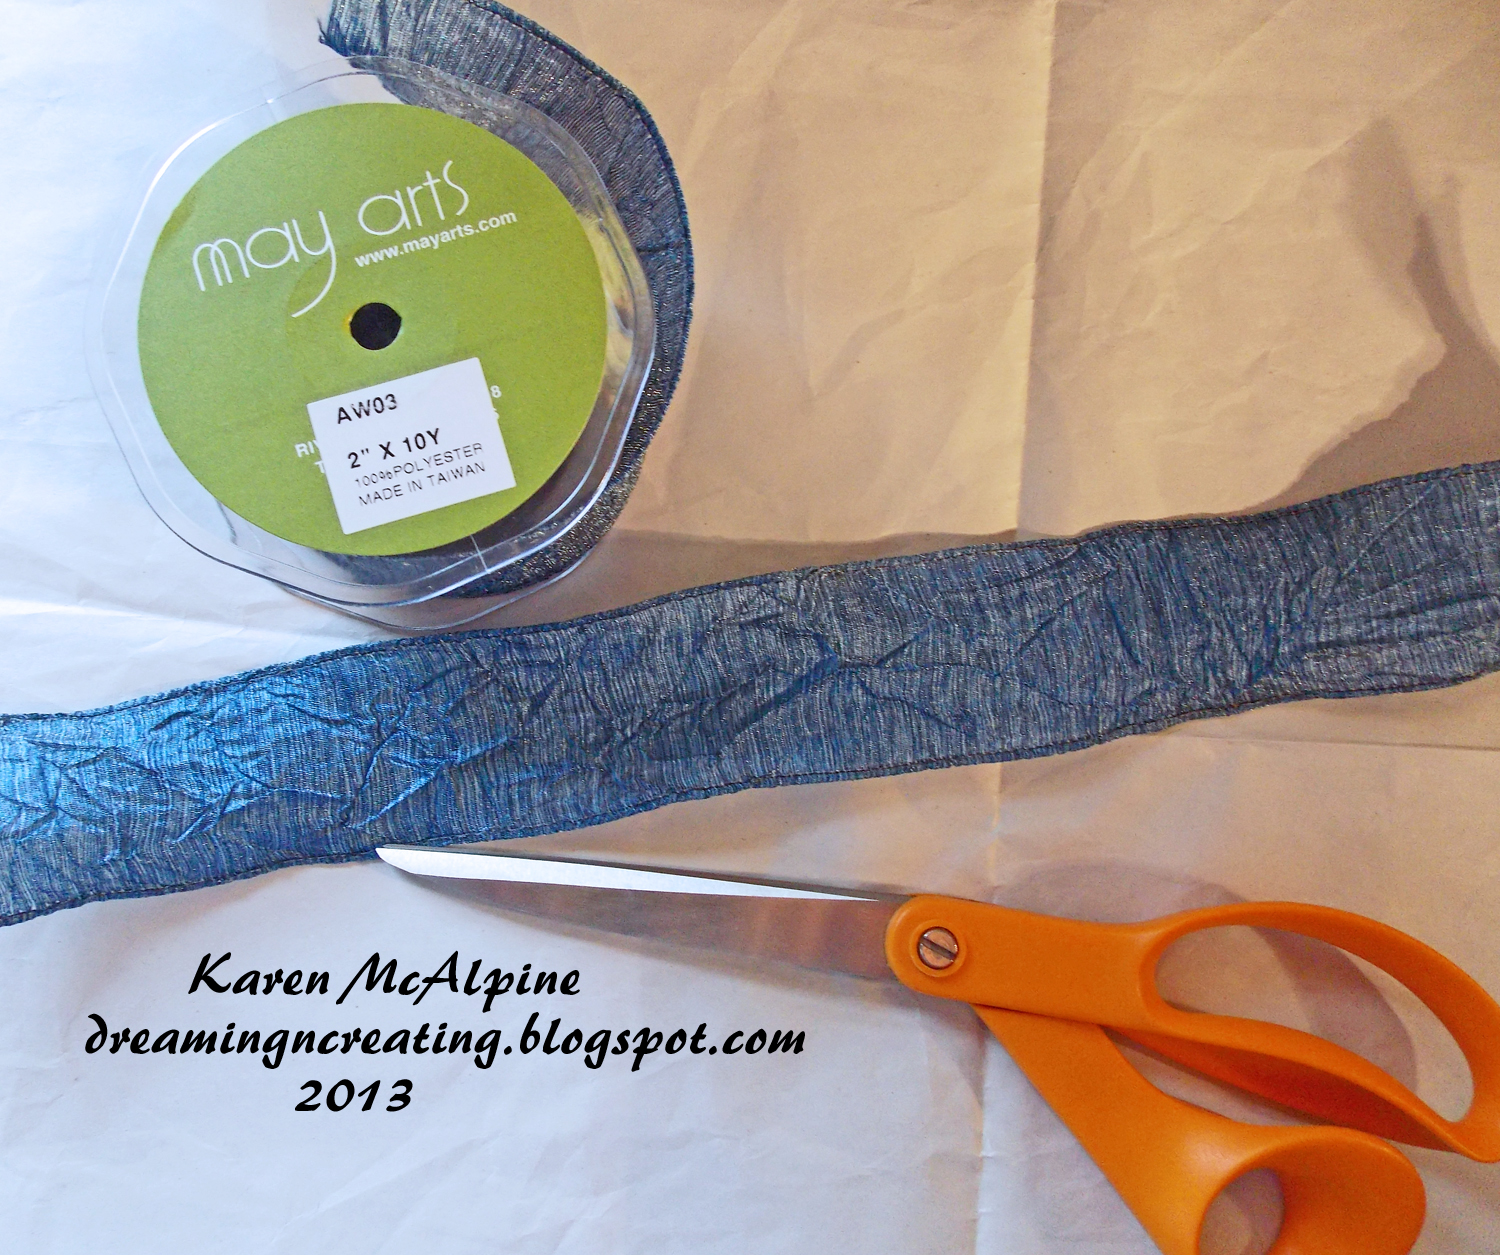
- An eleven inch piece of ribbon will make 2 two inch rosettes

- Cut the ribbon in half lengthwise with a sharp pair of dressmaking shears

- Sew the two short ends together with needle and thread ( I used regular sewing thread)
- Make a small knot on the top edge so that the stitches made on the short end don't gather up

- Run gathering stitches down on long edge

- Begin to pull the stitches to gather the ribbon

- Pull the thread to tightly gather the ribbon
- Now your rosette has taken shape.

- Take several more stitches across the center of the rosette to secure the ribbon
- Knot the thread and cut the thread

That's it! Wasn't that easy!! Now you are ready to decorate a project with your hand made embellishment. ***If you use a narrower ribbon, skip the step of cutting the ribbon in half lengthwise.
Here is how I completed my Card:
- Make a card base with Not Quite Navy CS
- Layer with Black CS
- Stamp the Hero Arts stamp on white CS with Black Onyx ink

- Color the flowers with Distress Markers with the colors listed on the Materials list
- Add to the card base
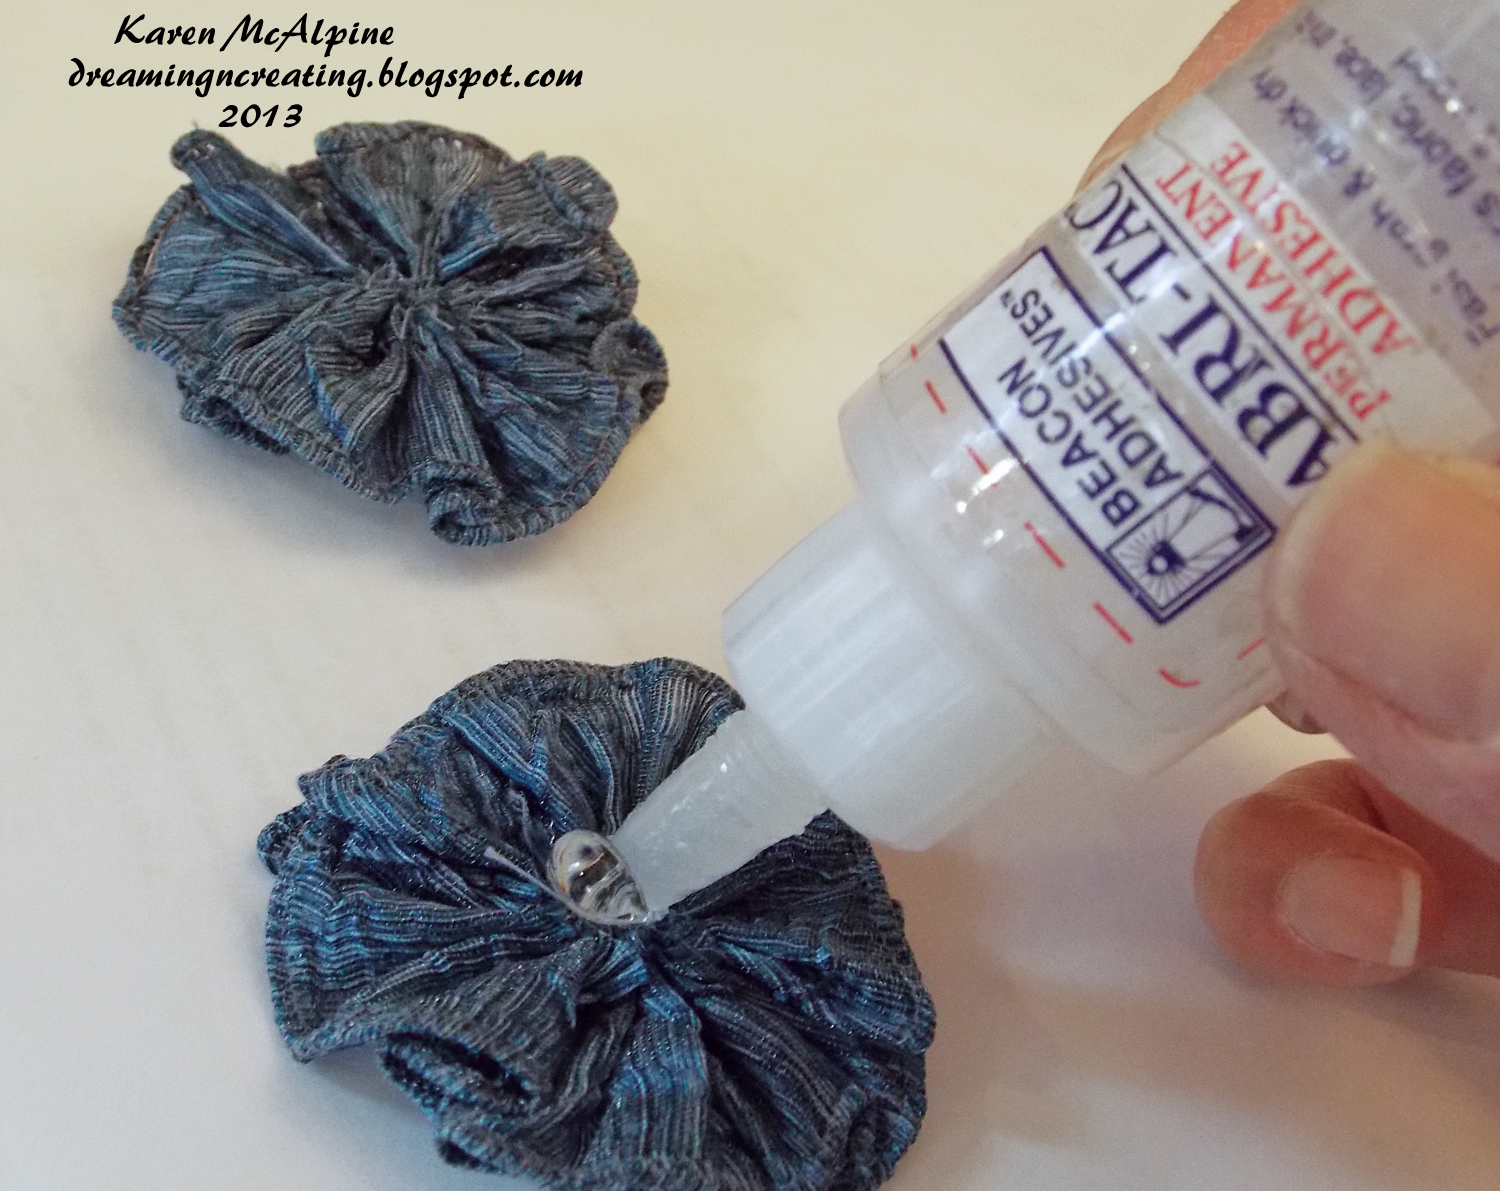
- Use Fabri-Tac glue (or another strong craft glue) to attached the rosettes to the card
- Add the large Yellow gems in the center of the rosettes ( I used the Fabri-Tac glue on the gems too)

Wouldn't you love to receive this card?? I think it would be great for a birthday, get well, or a thinking of you. You could make a bunch of the rosettes ahead of time and keep them for future use. I like to keep a few on hand. But, sometimes I make them specifically for a particular project.
I hope you will try to make these fun hand made embellishments.
*****A Few fun Challenges for my Folk Art flowers
Challenges 4 Everybody: anything goes
Stamping Sensations: summer blooms
ABC Challenge: O is for open
Crafting Musketeers: use a stamp
Creative Moments: lots of layers
************
I will be back later with an idea that uses some of those ribbon scraps!! Don't throw those away!!
I wish you a happy day. Love ya.
Karen
Wow Karen this is so pretty and thank you for the tutorial x
ReplyDeleteThis is so gorgeous and brill tutorial. Thanks for joining us at Stamping Sensations.
ReplyDeletePinky
Gorgeous card, love the flowers and your tutorial. Thank you for sharing your creation with us and for joining us at Creative Moments #18 lots of layers challenge. Karen P CM DT (http://stampinginpink.blogspot.co.uk/ )
ReplyDeleteA super card and just prefect for our theme and those handmade flowers are just stunning Karen.
ReplyDeleteThanks so much for sharing with us at Stamping Sensations challenge.
B x
Lovely card , thank you for joining us over at the Crafting Musketeers , Fran (DT) xxx
ReplyDeleteStunning card & fabulous tutorial, will have to give that a go. Hugs Bev x
ReplyDeleteStunning project, love the stamps and the ribbon rosettes. Great tutorial. Thanks for joining us at the Crafting Musketeers, Nicola X
ReplyDelete