Welcome to my post for the Lost Coast Designs Women Rule the World Event. In honor of Mother's Day, this month we are showcasing all the "woman" stamps. There are so many lovely stamps to choose from. See the catalog here. Each designer will be adding projects on the Portal to Creativity blog so be sure to stop by and check out the projects. You may link up your own "woman" theme project using any stamp company you like--must have some stamping. There is a prize too! $10 gift certificate to Lost Coast Designs.
Now , for my Women themed projects. Well, if you know me, you know that sometimes I can't stop stamping once I get going...LOL I started stamping this stamp and kept changing the ink colors each time. I inked the stamp with two colors of distress ink and then stamped. There were so many great color combinations to try I had to keep going. I will share two with you today and three more on Sunday. The backgrounds are all hand made as well.

Materials List:
Stamp: Flower Girl from Lost Coast Designs
Ink: Forest Moss and Tea Dye Distress inks
(Rusty Hinge and Wild Honey on Project #2)
Mixed Media paper pad
CS: cream and green
Twill tape trim
ribbon
Tiny Pearls
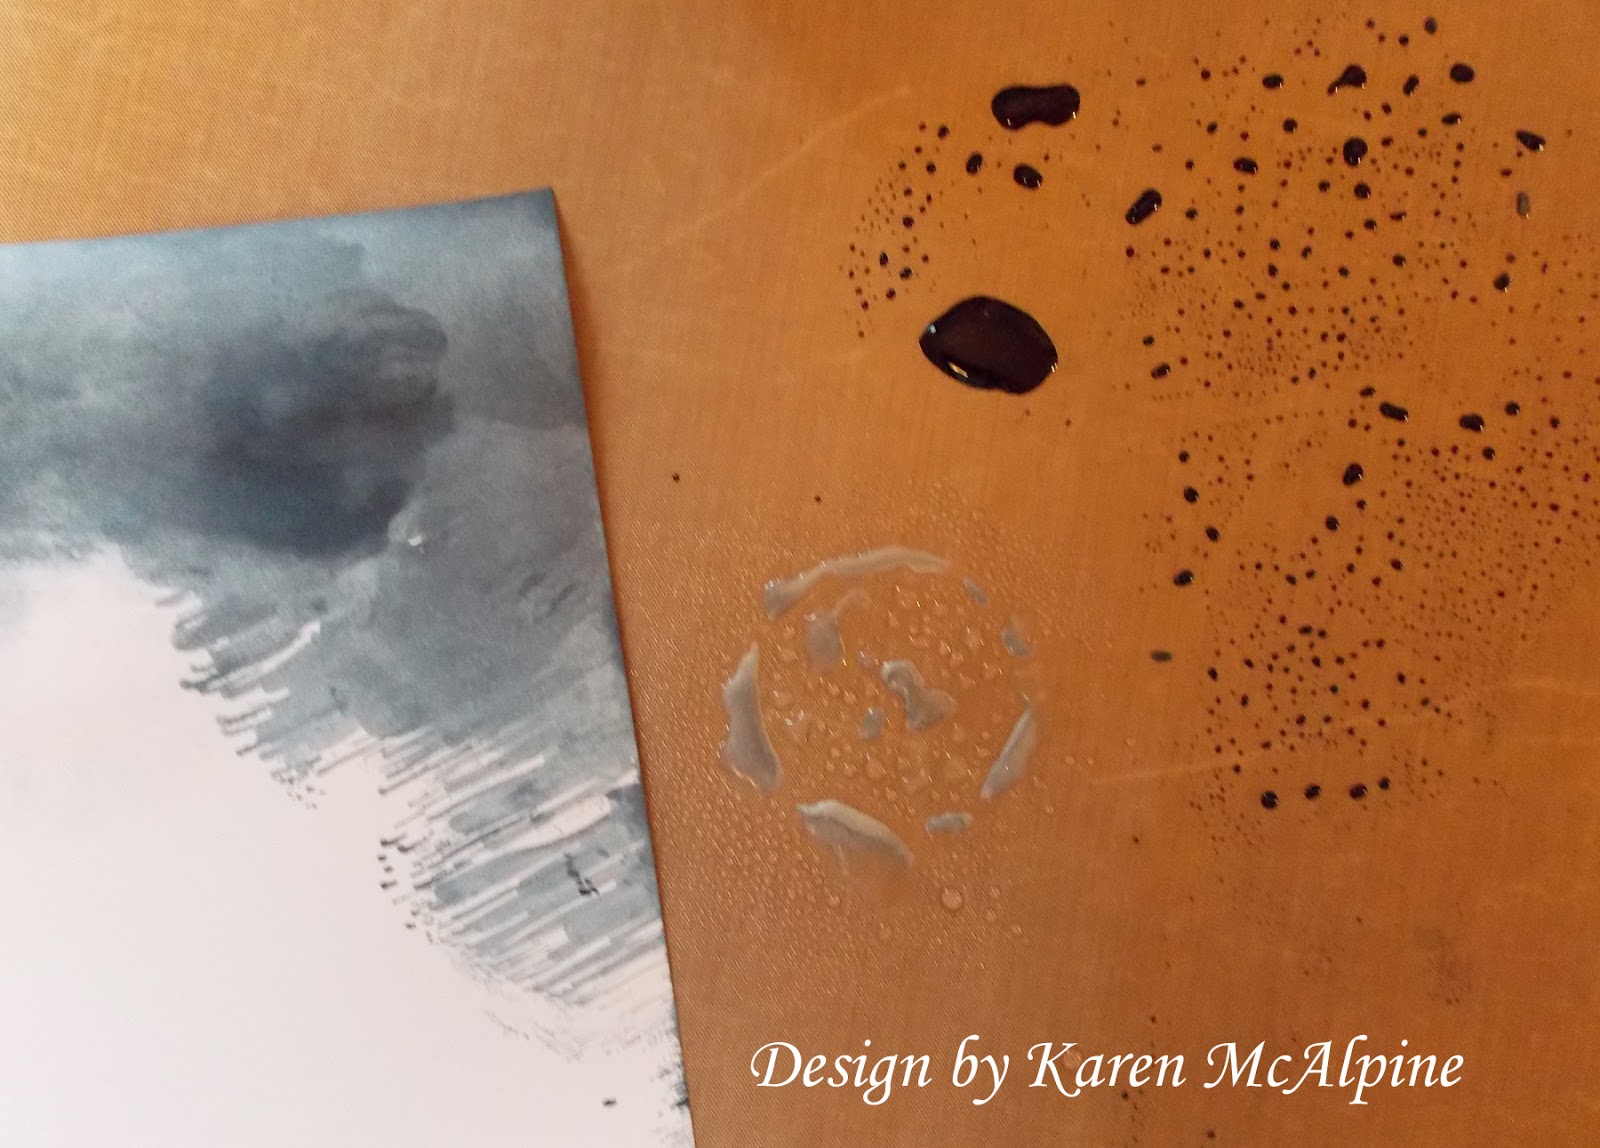
Spray inks
Stencil (project #2)

- Make a card base from green CS
- Make the background paper by spraying CS with Spray inks

- Ink the Flower Girl stamp with Forest Moss and then Tea Dye--stamp on the mixed media paper
- Distress the edges with the same ink colors
- Add to the card base
- Add a row of tiny pearls along the arch shape of the image
- Add the fibers

2nd Project:

- Make a card base from Cream CS
- Make a background by spraying ink over a stencil on cream CS
- Ink the stamp with Rusty Hinge and Wild Honey Distress ink- stamp on mixed media paper
- Trim the stamped image and add to the card base
- Add a big bow of sheer ribbon and small rhinestones

I just love this stamp! It really makes a dramatic card or project. Here is a little peek at the different color combos that I tried

********* Make your own Female themed project and link up here. Love to see your project!!
So glad you stopped by today! Hope you are having a great weekend! Love ya
Karen
*************************Entering these Challenges:
Simon Wednesday: use a stencil
Country View:May challenge use a stencil