Showing posts with label shabby chic. vintage. Show all posts

Friday, May 1, 2020

Thinking of You Card for Technique Junkies WWDB Event

Hello Everyone,
Hope you are doing well.  Doing good here. Still under stay at home order here in Michigan.  It has been too cold to work out side so I have been making lots of cards.  And,  I decided to participate in the Event going on over on the  Technique Junkies Blog ( see all the details on the blog).  They are hosting a What We Do Best (WWDB) event on their blog and on Facebook.


Week three is to make a Thinking of You card and envelope.  The idea is to send out cards now to show people we care.  Technique Junkie Stamps must be used.

Here is my card and envelope:


Stamps used from Technique Junkies:
Vintage Floral Collage

Envelope:  Fussy cut one of the flowers from the stamped image and layer with lace.  Tied a sheer ribbon around the flower stem.


Inks Used:
Distress ink from Ranger--
Dried Marigold
Picked Raspberry
Victorian Velvet
Fired Brick
Mustard Seed
Shabby Shutters

Black Archival
Distress Markers


To create the effect on the card, I did three things.

  1. Inked the stamp with distress markers using different colors in different areas and stamping on Mixed Media paper...I thought the image need more definition after this step so...
  2. I inked the stamp with Black Archival ink and stamped again over the first stamping.
  3. Then I colored with  the markers to add more color to the flowers.

I also distressed the edges of the stamped piece with distress inks.  And, added several layers and lace with a sheer bow.  The sentiment was die cut.


Inside: Fussy cut one of the flowers.


Here are some other stamped examples:

  1. Stamped with black Archival ink.  Then stamped without reinking after stamping the second image below. This has very subtle coloring.
  2. stamped with gray ink.  Re-inked with markers, spritzed with water, and stamped over first stamped (gray) image. 


 3. Stamped with black Archival ink and colored with Distress markers

4. The gray ink was a second stamping as was the markers.   I added a little more water to the stamped and stamped over the gray image without reinking.


So, as you can see, I had a lot of fun with this Vintage Floral Collage stamp.  Plenty of images now all ready to be made into projects.
One more card and envelope for the WWDB event to go: an encouragement card.  I will share that next week.  So glad you stopped by today.  Have a lovely day.

Karen


Wednesday, December 2, 2015

Vintage Anniversary Card and a Peek at My Space

Hello Dreamers,
Just popping in today to share a vintage anniversary card I made for a card order.


The background was dry embossed, distressed with inks, and painted with Lumiere paint.


A center piece with simple stamping makes a nice focal point.  I added some bright red brads for interest and a sentiment to complete the front of the card.


Inside of card:

*****My Vintage Anniversary card is entered in:
Mod Squad Challenge:Ingredients/recipe---I used  embossing; ribbon; favorite color (peach)


Still quite busy here trying to make this new house my home.   I have also been working on my crafting space.  Moving things around so that like is with like.  All my punches are now in one space next to the desk.   All 8.5 x 11 CS is in the filing cabinet (far right) in hanging folders.  And, I moved a lot of my plastic drawer stacks closer to my work area (not shown in photo).  Everything seemed too far away and I seemed to spend a lot of time getting up and looking for things.   I have lots of room, but it is not so great looking yet.  I did pick up a rug the other day and that made the area seem more comfortable.  It is just a basement after all.  Here are some photos of the space so far.  As you can see, I have a long way to go.....


Paper Craft Supplies:


Fabrics and Sewing supplies: I haven't done much over here except stick everything on the shelves.


Lots more work to do!!  It looks worse in the photos.  LOL   I have done more moving around since I took this set of pics.

Check back next week for two new challenges ---Lost Coast Design and Vintage Stamping----and more Carmen's Veranda Christmas projects!!

See you soon!
Karen

Monday, May 4, 2015

Shabby Chic May with Vintage Stamping Challenge

Hello Friends!
The first Monday of the month----Time for a new challenge on The Vintage Stamping Challenge Blog!!  The challenge theme for the month of May is:

  Shabby Chic 

Make a project in the Shabby Chic style and link up on the Vintage Stamping Challenge Blog.  Your project must have some stamping.

The challenge is sponsored by: Flonzcraft Stamps.  Flonzcraft is offering a $20 gift certificate!!!

I made a small wall hanging piece using corrugated cardboard as the base.


Materials List
Stamps: Flowers Engraving from Flonzcraft Stamps
Ink: Aged Mahogany and Victorian Velvet Distress inks
CS: Very Vanilla and Blush Blossom from Stampin' Up
Gelli Plate, Acrylic Paint, and Embossing folder to make Background paper 
Tan Ribbon
Pearl Trim- from Hobby Lobby
Vintage crochet piece
Corrugated Cardboard
Lumiere Paint
Old Paper Crackle Paint- Ranger

 Instructions:

  • Cut a piece of corrugated cardboard to size and tear the top layer of brown paper off exposing the ridges
  • Paint the cardboard with Lumiere and crackle paints
  • Let dry
  • Add the crochet lace and tie ribbon around cardboard


  • Make the background paper with a Gelli plate/or use a piece of distressed CS
  • Stamp the Flowers Engraving stamp onto Vanilla CS by inking the stamp with both Aged Mahogany and Victorian Velvet inks
  • Tear the CS and distress edges with distress inks


  • Add stamped piece to CS background
  • Add pearl trim
  • Add to cardboard


  •  Add ribbon at top of piece to use for hanging 


I will hang this in my living room--so fun to make decorating pieces from elegant stamps like Flowers Engraving.  Hope you join us with your own Shabby Chic project.   Hope you have a super day!
Karen

Thursday, January 15, 2015

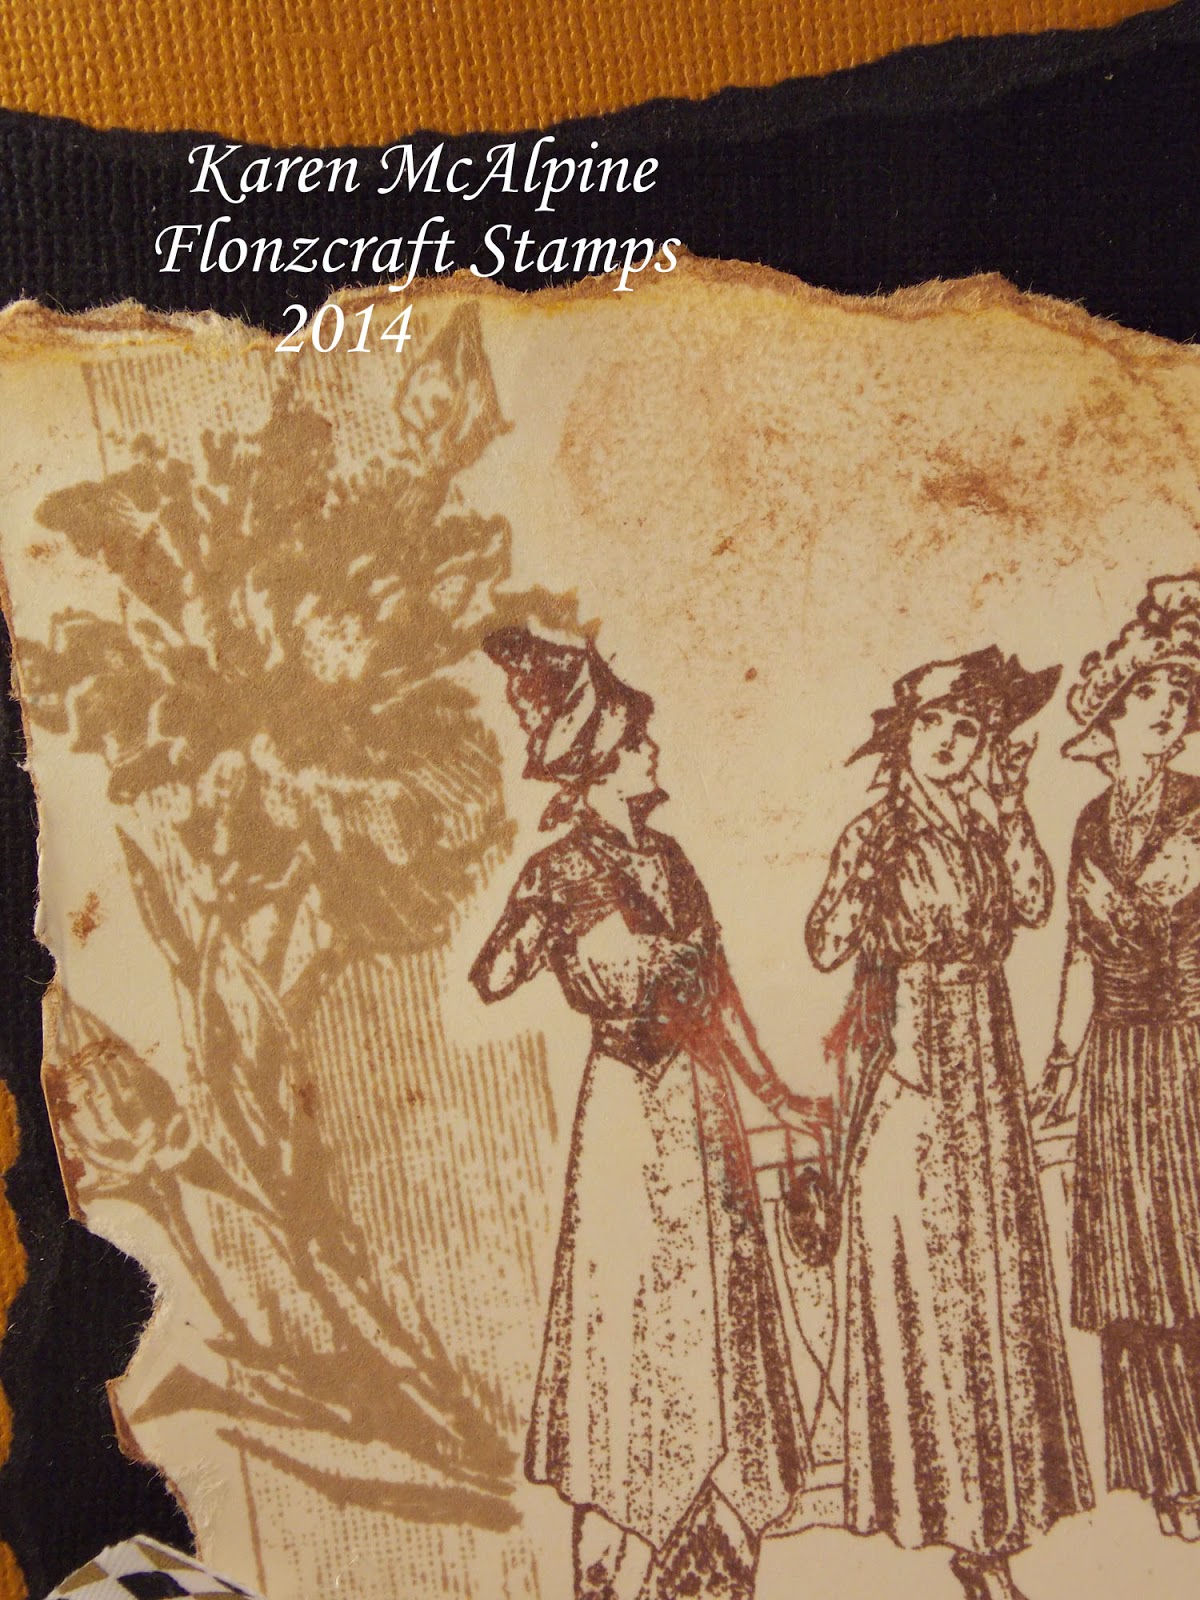
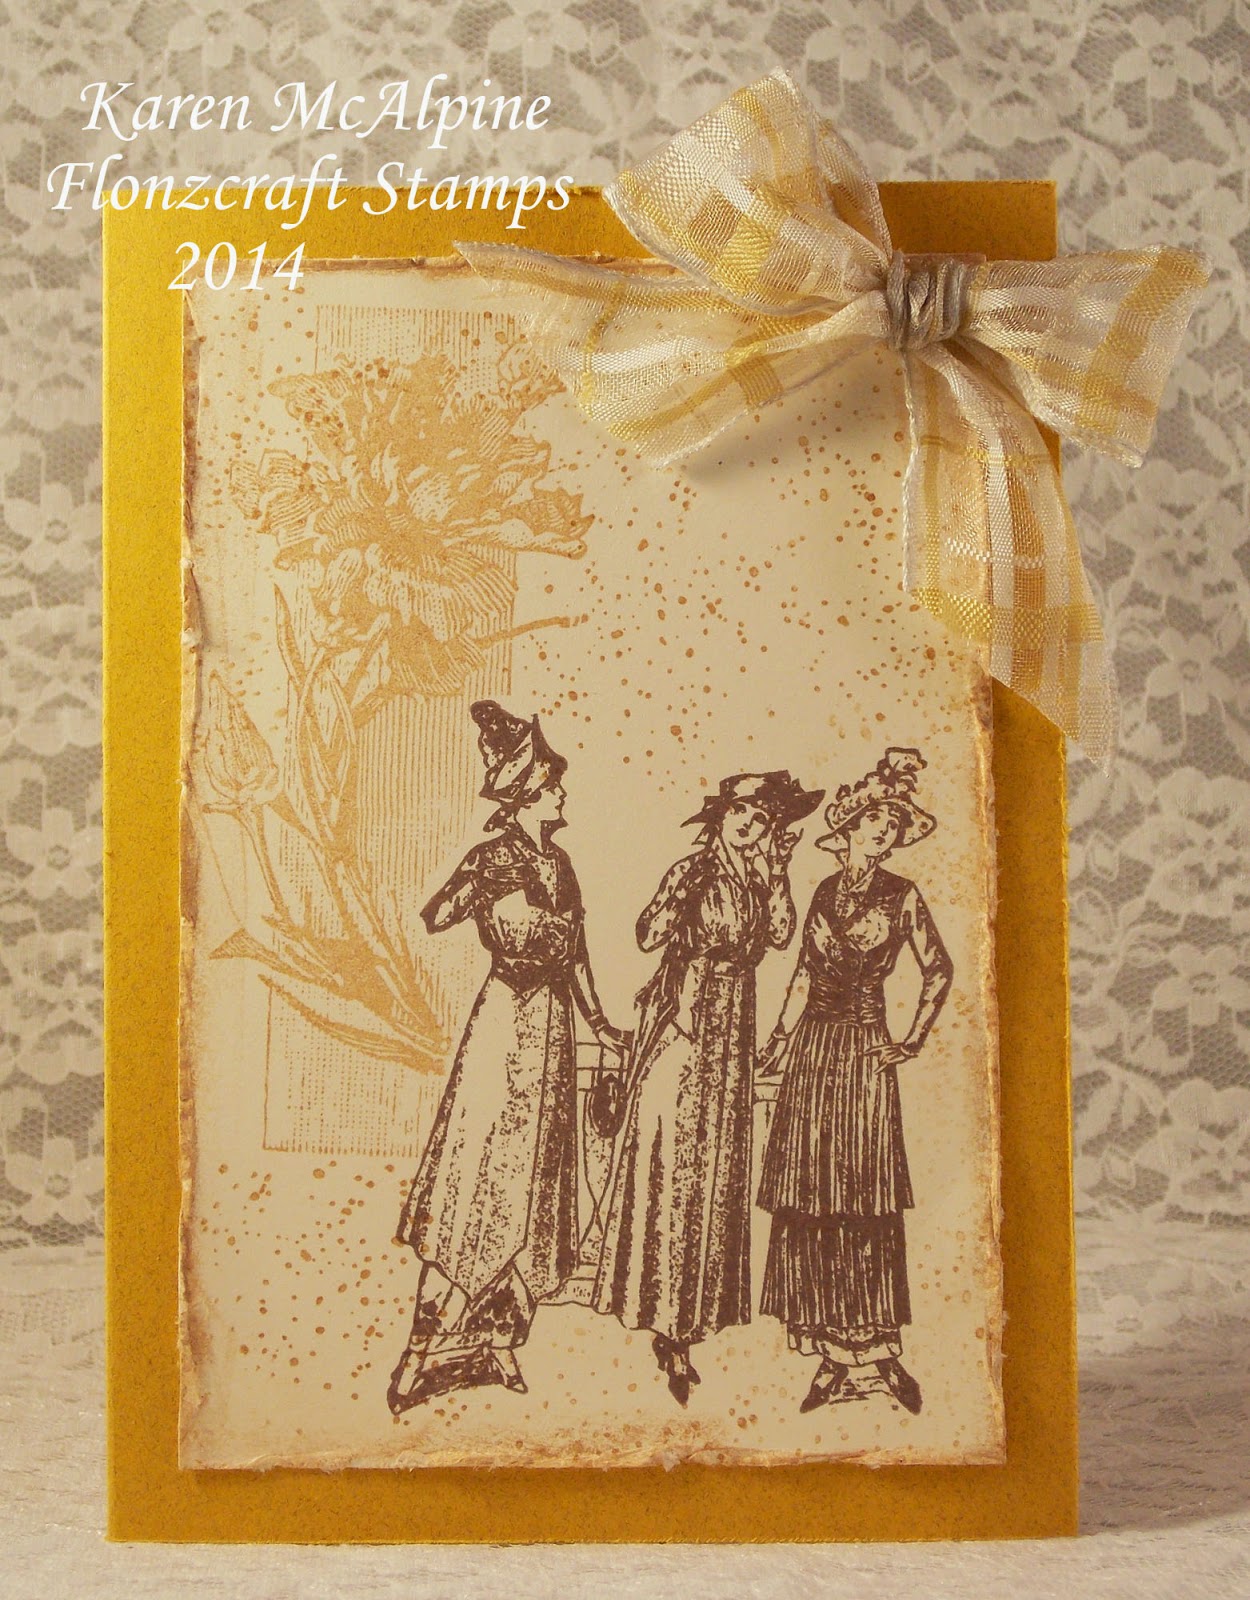
Vintage Ladies with Floral Background

Hello Everyone!
Been kind of a not so good week.  My husband was home sick.  He tried going in today.  He still does not feel good though.  And, we have a busy weekend ahead too.  The Dearborn Big Band is playing at the Michael Guido Performing Arts Center on Sunday ( Don is the director and trumpet player).  So, a big day for the band.
Saturday, I am going to a fund raiser/card making day with my buddy, Sharon.  Should be fun!  Looking forward to getting out and making a few cards for fun after the hustle and bustle of the holidays.

I thought I would post two cards today.  The cards are a variation on my Vintage Stamping Challenge project I posted two weeks ago here. The challenge runs all month and the details can be found here.  The theme is "New Year - New Stash"


Here is Card one:


Materials List:
Stamps: Flowers Engraving and Vintage Fashion Girl - Twenties 2 both from Flonzcraft Stamps; speckles background stamp
Ink: Rich Cocoa, Toffee Crunch -Memento;  Creamy Caramel from  Stampin' Up
CS: Cream; Tobacco Brown; Black; Mustard yellow
Watercolor Crayons - Stampin' Up
Distressing tool
Ribbons
Heat gun
Spray bottle 

 Instructions:

  • Make a card from tobacco brown mustard yellow CS
  • Add a torn layer of black to the tobacco brown card
  • On Cream CS, stamp the Flowers Engraving with Toffee Crunch and another with Creamy Caramel ink
  • Stamp the Fashion Girls with Rich Cocoa ink
  • Stamp speckles on the background with Creamy Caramel for card two


  • Tear the edges of one stamped piece and distress the edges of the second stamped piece with distressing tool 
  • Color the edges with the watercolor crayon
  • Distress edges again
  • Spray the watercolor crayon lightly with water and dry with heat gun ( I rubbed the crayon coloring with my finger to soften the edges before drying)
  • Add to the card base


  • Add ribbons to each card


The cards are going in my to send box.  They will be perfect for any occasion.  I will add sentiments when I use them.

A Few Fun Challenges for my Vintage Ladies
Simon's Monday: inky background
4 Crafty Chicks: flowers
Just Inspirational: add a background stamp
Penny's Challenge: anything goes
Sisterhood of Crafters: anything goes with twist of new stash---my new stash---the Flower Engraving and Vintage Fashion Ladies stamps


I have three more cards made with the same stamps--They are not quite so distressed.  I will share those next week.  Hope you are having a great day!  Love ya.
Karen

Tuesday, November 18, 2014

Vintage Medallions

Hi Dreamers!
We have snow already!  Well, I am not ready for snow!  And, we are supposed to get a bit more tonight.  I will just have to stay cozy and warm making a few cards.  I made this card using a Stampin' Up set and set it on  a handmade background.

NOTE:  I was going through my ink pads recently and found that I had several of the small pads I had not used very much.  They had pigment inks on them and had gotten pretty dry---no reinkers unfortunately.  I thought I needed to use them anyways.  I stamped with them and just hit them with the heat gun.  Because they were kind of dried out, the ink dried quickly.  And, I liked the soft effect.  Then I use the pad to distress the edges too.


Materials List:
Stamps: Daydream Medallions - Stampin' Up
Ink: plum pigment (see note above)
CS: white, plum, metallic bronze
Spray inks
stencil - Crafters Workshop
Sheer plum ribbon


 Instructions:

  • Make a card from plum CS
  • Add a background piece made with a stencil and spray inks
  • Stamp the medallions of white CS with the plum pigment ink
  • Distress the edges with the same ink
  • Heat set the ink
  • Layer onto a piece of bronze metallic CS


  • Wrap ribbon around stamped piece and tie in bow
  • Add to the card
  • Decorate the inside

Inside of the card:


Challenges for my Vintage Medallions:
Pile it on: vintage
Craft-Dee Bow: anything goes + a bow
Dream Valley: anything goes
My Craft Creations: anything goes


I have another Turkey card to share, and that is coming up later in the week.  I have been working on Christmas cards and crocheting scarves....so keeping busy.  See you soon.  Love ya
Karen

Monday, November 10, 2014

Vintage Stamping Challenge- Anything but a card!

Well Hello!
Happy Monday....  I have an announcement today!
I have joined up with the ladies on the Vintage Stamping Challenge!!  You know how I love vintage!!  The team works with stamps by the Flonz Craft!  Flonz has a fantastic assortment of vintage themed clear stamps!! ---Fashion, Gibson Girls, cars, children, etc....

 Each monthly challenge is sponsored by Flonz Craft with a $20 gift certificate.

The current Vintage Stamping Challenge #26 theme is:

Anything but a Card

Make any project -except a card-- using stamping (does not have to be vintage)

For my first Design Team project, I used one on the Gibson Girl images (love them!!)


Materials List:
CS: white
Ink: Gray Flannel Memento; Mulled Lavender Distress ink
Copic Markers
Dot Stencil- Stampin' Up
Ribbon
Lace
Small Pearls
Sponge
Hole punch


Instructions:

  • Cut a tag from White CS
  • Stamp Gibson Girl with Gray Flannel ink
  • Color the image with Copic Markers
  • Place the stencil over the tag; using a sponge apply Milled Lavender ink to the tag
  • Remove stencil
  • Stamp the Sentiment
  • Distress the edges of the tag with Milled Lavender


  • Punch hole in side of tag 
  • Push ribbon through hole and tie in a big bow
  • Add a piece of white lace to the left side of the tag
  • Add pearls to the background

This will be great on a gift bag.  And, with a matching card, so nice for a special someone!!  (I did make a matching card, by the way...Are you surprised??!!  I will save that for another post)  
Click over to the Vintage Stamping Challenge and link up your own anything but a card project!!  And, check out the other fab DT projects!!


__________________________________
Entering A few fun Challenges with my Gibson Girl Tag:
Pile it On: special occasion
Anything but a Card: anything goes
Come and Get it: ribbons and Lace
Eclectic Ellapu: fav color combo---lavender and pink
Vandicrafts: anything goes
Stamp and Create: ribbon/bows
Craft My Life: anything but cards


Hope you are having a great Monday.  I worked on some Thanksgiving cards.  I made some at a stamp camp and I cased some form the Stampin' Up catalog.  I also made some funny turkey cards and will post the turkey cards later in the month.  So, lots of fun stuff for the month.  See soon.  Love ya.
Karen

Friday, November 7, 2014

Alice the Queen--In Wonderland

Hello Dreamers!
I have two fun cards to share today.  I made one for a friend and one to put in my to send box (it will go to a special someone later).  I used a stamp of Alice in Wonderland from Stampendous and a fun sentiment from Technique Junkies/Stamp Camp stamps. The color scheme is a soft neutral pallet of creams and taupe.  Lots of pics......
Here is the first card:


Materials List:
Stamps: Wonderland from Stampendous; Sentiment from Technique Junkies; Small leaf and flower- Branching Out set from Gina K Designs
Ink: Rich Cocoa Memento; Tattered Rose Distress 
CS: Very Vanilla and Crumb Cake - Stampin' Up; taupe from Bazzill
Markers: Milled Lavender and Tattered Rose Distress markers
Paper Doily
Pearl Bead Trim
Buttons
Ribbons


Instructions:

  • Make a card from the taupe CS
  • Add  a doily to the right side of the card
  • Stamp Alice and leaf with Rich Cocoa, and flowers with Tattered Rose on Very Vanilla CS
  • Color parts of the dress with markers
  • Add to the card


  • Stamp the sentiment 
  • Tie ribbon around card
  • Add the sentiment and the pearls
  • Glue buttons to doily


  •  Stamp the leaf and flower on the inside


************************
The second version of the card is just slightly different.  I used a larger piece of Very Vanilla CS and had room to stamp the sentiment.


Don't you just love that sentiment??!!  I think it is so cute!!  

Challenges for my Alice the Queen cards:
Mod Squad: Grandma's Attic---add a doily
Crafts 4 Eternity: ribbon and/or lace
Crafty Catz: ribbon and/or lace
Aud Sentiments: put sentiment on a tag
Creative Knockouts: button
The Shabby Tea Room: neutral colors and photo


See you soon with an announcement!  And a vintage project!  Hope you have a great weekend!  Love ya.
Karen

Thursday, November 6, 2014

Throwback Thursday with Bibiana

Hello Everyone,.
My blogging buddy, Bibiana is hosting Challenge #4 in her Throwback Thursday Linky Party posts.  See all the details on her blog, Stamping with Bibiana.


The idea is to revive an older project and link up on Bibiana's blog.

I am going all the way back to August of 2011 for this throwback.  I made a set of tags using vintage scissors stamps.  Take a look.


You can see the original post here.  I stamped with pigment ink and heat embossed the scissors.  I added distress inks around the embossed images.  Finished each tag with some fun embellishments.


Head over and check out the post on Bibiana's blog and link up your throwback!!  There are prizes too!!!  See you soon.  Love ya.
Karen

Sunday, August 24, 2014

Flourish and Perfume Label from Lost Coast Designs

Hello Dreamers,
My nephew's wedding was Saturday and what a beautiful wedding it was.  Lovey service.  The bride was gorgeous and the groom handsome.  The reception was really fun too.  I made the airport run this morning, dropping the new couple off for a flight on their honeymoon to Florida.  Very exciting to watch them embark on their new life together.

Now, back to business.  Today, I have a vintagey card with stamps from Lost Coast Designs.  I made this for the current challenge, which is:

Words or Letters

You still have time to enter the challenge---One more day!!

On my project, I used the Lily Flourish, which  is such a versatile stamp.  I will be showcasing this stamp over the next few weeks to give you several ideas on how to use this gorgeous stamp.


Materials List:
Stamps: Lily Flourish, Loopy Calligraphy, and Labels Set from Lost Coast Designs
Inks: Tuxedo Black, Toffee Crunch, and Rich Cocoa - Memento
Distress Ink: Vintage Photo
CS:Cream, Soft Suede - Stampin' Up, and Dark Maroon
Pearls
French Roast Twill Ribbon - A Muse Studios
Dimensional adhesive


Instructions:

  • Make a 5.25" square card from maroon CS
  • On the Soft Suede CS, stamp the Lily Flourish with Tuxedo Black ink; stamp the Loopy Calligraphy with Toffee Crunch ink
  • Distress this piece with Vintage Photo ink
  • Glue to card base


  • Stamp the Violette Flor label on cream CS with Rich Cocoa ink and and fussy cut
  • Add to card base with dimensional adhesive
  • Tie a bow in ribbon and glue to  card
  • Add pearls


  • On the inside, stamp Lily Flourish and add some of the CS


I will just add a sentiment to the inside when I send the card out to a special someone.  

***********A few fun Challenges for my Vintage Flourish and Label Card:
Artistic Stamper: anything goes
Memas Craft:anything goes
Tando Creative: lovely layers
Simpy Create Too: monochromatic
Sister Act: anything goes
*************


I will be back soon with another Lily Flourish project!!!  And, a few other things in between too.  Hope you are having a lovely weekend!!!  Love ya.
Karen