Showing posts with label storage ideas. Show all posts

Thursday, June 6, 2013

Ribbon Dragonfly Storage Jar

Hi Dreamers!
Today, I have a fun storage idea to share!   I found some gigantic glass jars (the kind used for canning) at my local  craft store last week.  I saw lots of scope in them.  LOL  I knew they would be perfect for storing loose items.  Here are the 9 1/2" tall jars:


Materials List:
Glass Jars with screw top lids (I found these at Michaels Craft Store)
Bordered Orange Sheer Ribbon from May Arts (356-15-28)
Peach Satin Ribbon
Scraps of CS
Dragonfly die cut from Sizzix


I decorated the jar with ribbon dragonflies!  I used a Sizzix die to cut out the dragonflies.  Let's get started making our decorated storage jar.

Instructions:

  • Place ribbon on top of the die and cut.  I covered the die with a scrap piece of CS before running through my Cuttlebug just to hold the ribbon in place


  • Cut about 12 dragonflies from the ribbons.  Cut the same amount from cardstock


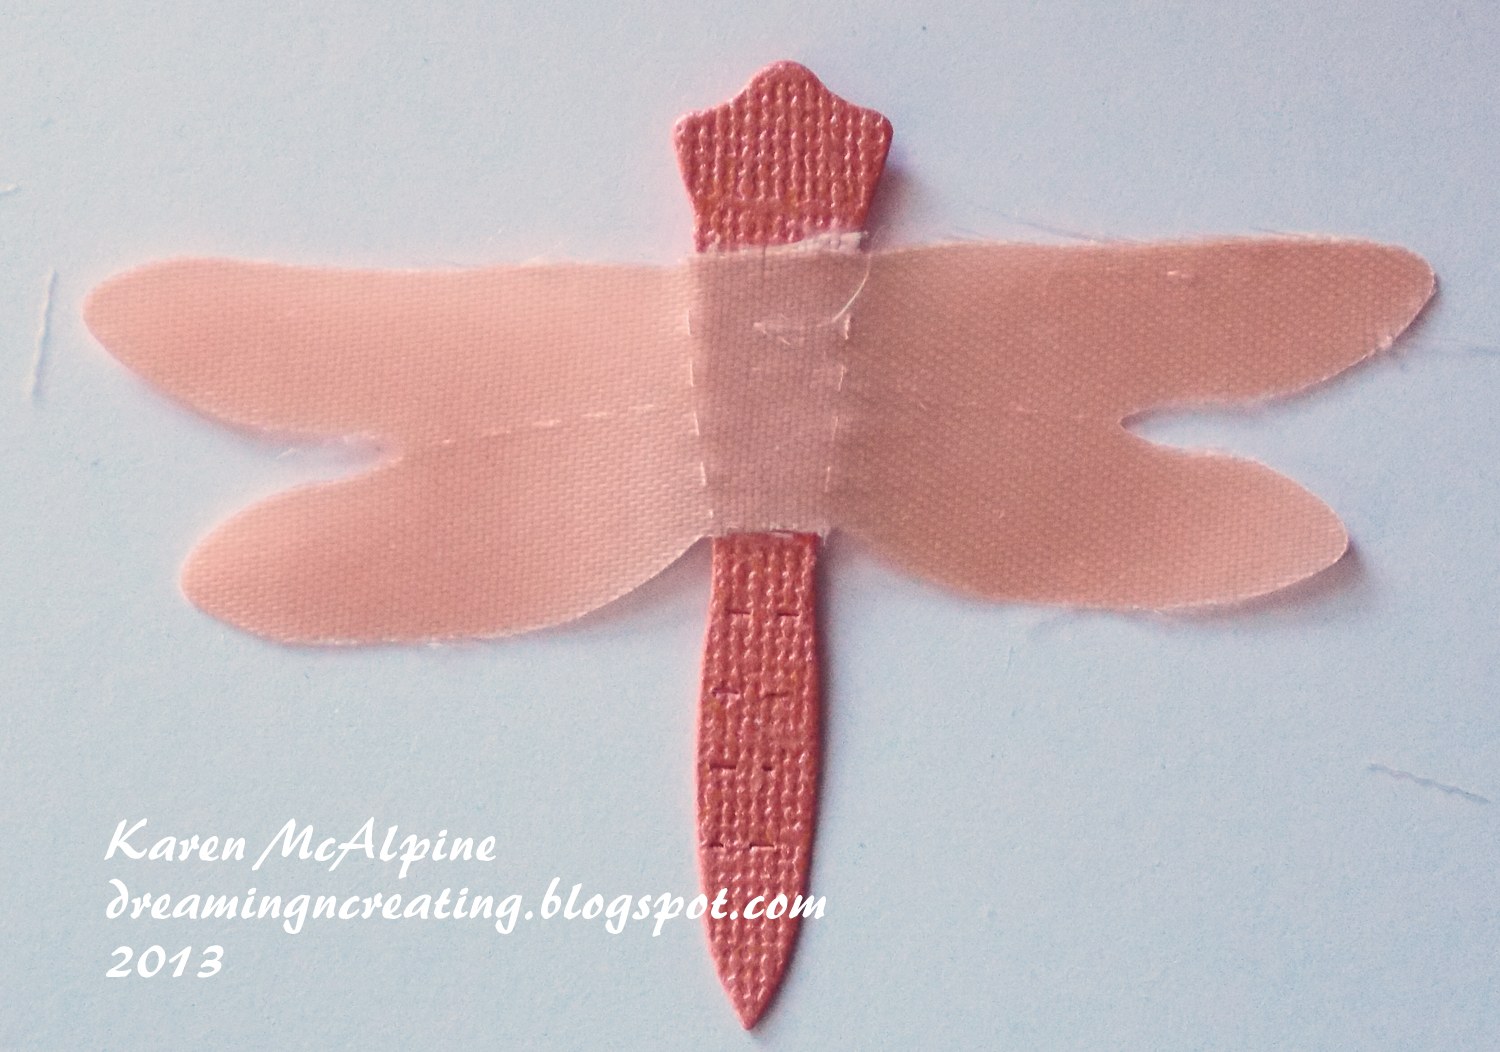
  • Cut off the heads from the ribbon dragonflies.  You can leave the body on some or cut it off
  • Cut the wings off the CS dragonflies
  • Glue the ribbon wings to the CS bodies


  • Attach the dragonflies to the jar with dimensional adhesive all around the jar
  • Tie ribbon around the neck of the jar


  • Decorate the top of the jar with a circle cut from yellow CS, a big bow and another dragonfly---for this dragonfly I did not cut away the CS wings, but left them to make the dragonfly more stable


Now, I have a super pretty storage jar!  And, guess what I decided to store in my Dragonfly Jar!!  You guessed it!  My ribbon scraps!  How Fun!!


I think this jar would look great with spools of thread or buttons.  You could use any size jar as well.  Smaller ones would be great to store Markers and pens.

*******A Few Fun Challenges for my Dragonfly Storage Jar**
Make My Monday: ribbon or lace
Paper Playtime: 2 or more ribbons
DL. Art: anything goes
CRAFT challenge: anything but a card
********


Well, I guess that is it for me today.  See you next time!  Love ya.
Karen

Thursday, May 23, 2013

Studio Re-do--My Creative Space

Hi Dreamers!
Well, I have some photos of my Studio re-do!  I even remembered to take a few "befores" and "durings".  Keep in mind this is a small room that measures about 10' x 10' with two large windows and three doors.  I am still fine tuning things as I begin to work in the room again.  I am suffering from ink separation anxiety.  LOL  I have to figure out how to get my ink pads back over to my work area.  Right now the ink pads are  on the very tall bookcase.   I will start with the before pictures.


BEFORE


 BEFORE


I had lots of things on the floor.  Which I did not like and felt like I was tripping over things all the time.   I was not really utilizing that area between the window.  I moved the sewing machine cabinet to the left under the window.  


DURING

In this photo I have begun to take everything down and remove that big white table.  I had lots of things under that table too.  I also removed the old blinds and actually washed the windows!   


AFTER


This is what you see when you walk into the room.


AFTER


Here is the new bookcase and the clean windows with different valances and new shades.


AFTER

This is the new desk/hutch.  And, I moved the smaller bookcase to this side of the room.  


Close up of the hutch.  This is where I would like to fit in the ink pads.  Or at least some of my ink pads.  The top will be a display area for finished projects.  I haven't got to that yet.  I used the decorative boxes for spools of thread.  


This is the smaller bookcase with new matching baskets.  I have all my 12 x 12 papers and CS on the top.  In the baskets are my die cuts, embossing folders, small dp pads, items to alter, and a miscellaneous basket. There are wood mounted stamps in the plastic drawer storage piece.  These are great because the top can be pulled off and more drawer frames can be added.  I have another of these plastic drawer units that is not in the photo.  That one also contains wood mounted stamps.


So, now I can get in there and start making a few things again.  When I first finished the room, I did not want to go in there and make anything.  I just wanted to enjoy it all clean and neat.  LOL I just did not want to mess it up again.  LOL  What a dope!  Well, I have gotten over that and made a few things on Monday.     Let me know if you have any ideas for the ink pads.  I have had a few already from my friend, Di.  I may see if I can get out the saw and hammer and knock a few pieces of wood together for a shelf that would sit up high--the CS would still fit under it.  I could place ink pads on that.  We will see.  So, I hope you have enjoyed taking a look at my little corner of the world.  Thanks for stopping by.  I wish you a lovely day.  Love ya.
Karen