Showing posts with label Tulips. Show all posts

Monday, March 21, 2016

Tulips Spring Card with Technique Junkies

Hello Dreamers!
Time for a bit of Spring yumminess here in Dreamland today.  I stamped the large Tulips stamp from Technique Junkies and punched out squares...and then put it all back together again.  Oh so very fun!


Materials List:
Stamp: Tulips from Technique Junkies
Ink: Summer Sky Memento
CS:White; Marina Mist, Bashful Blue, and Pacific Point from Stampin' Up
Edge Punch
Ribbon
Pearls

 Make It:

  • Make a card from Marina Mist CS
  • Stamp the Tulip with Summer Sky ink on white CS
  • Use a punch to punch out squares


  • Layer each Tulip square on a rectangle of Pacific Point CS
  • Punch a strip of Bashful Blue CS along one edge and add to card base
  • Add the large rectangle with the Tulip squares to the card
  • Add ribbon and pearls


This could also be an Easter card, or a nice welcome spring, or spring Birthday card.  Check out all the March Releases here.  Check back next time for the Flamingo card.....It's pretty cute.  See you then.  Love ya
Karen

**************Challenges:
DL Art March Link: anything goes
Eclectic Ellapu: flora and fauna
My time to craft: flowers
Brown Sugar: Spring
Craft Your Passion: anything goes
Love to Scrap: anything goes
Our Crafty Corner: anything goes
**************************

Thursday, March 17, 2016

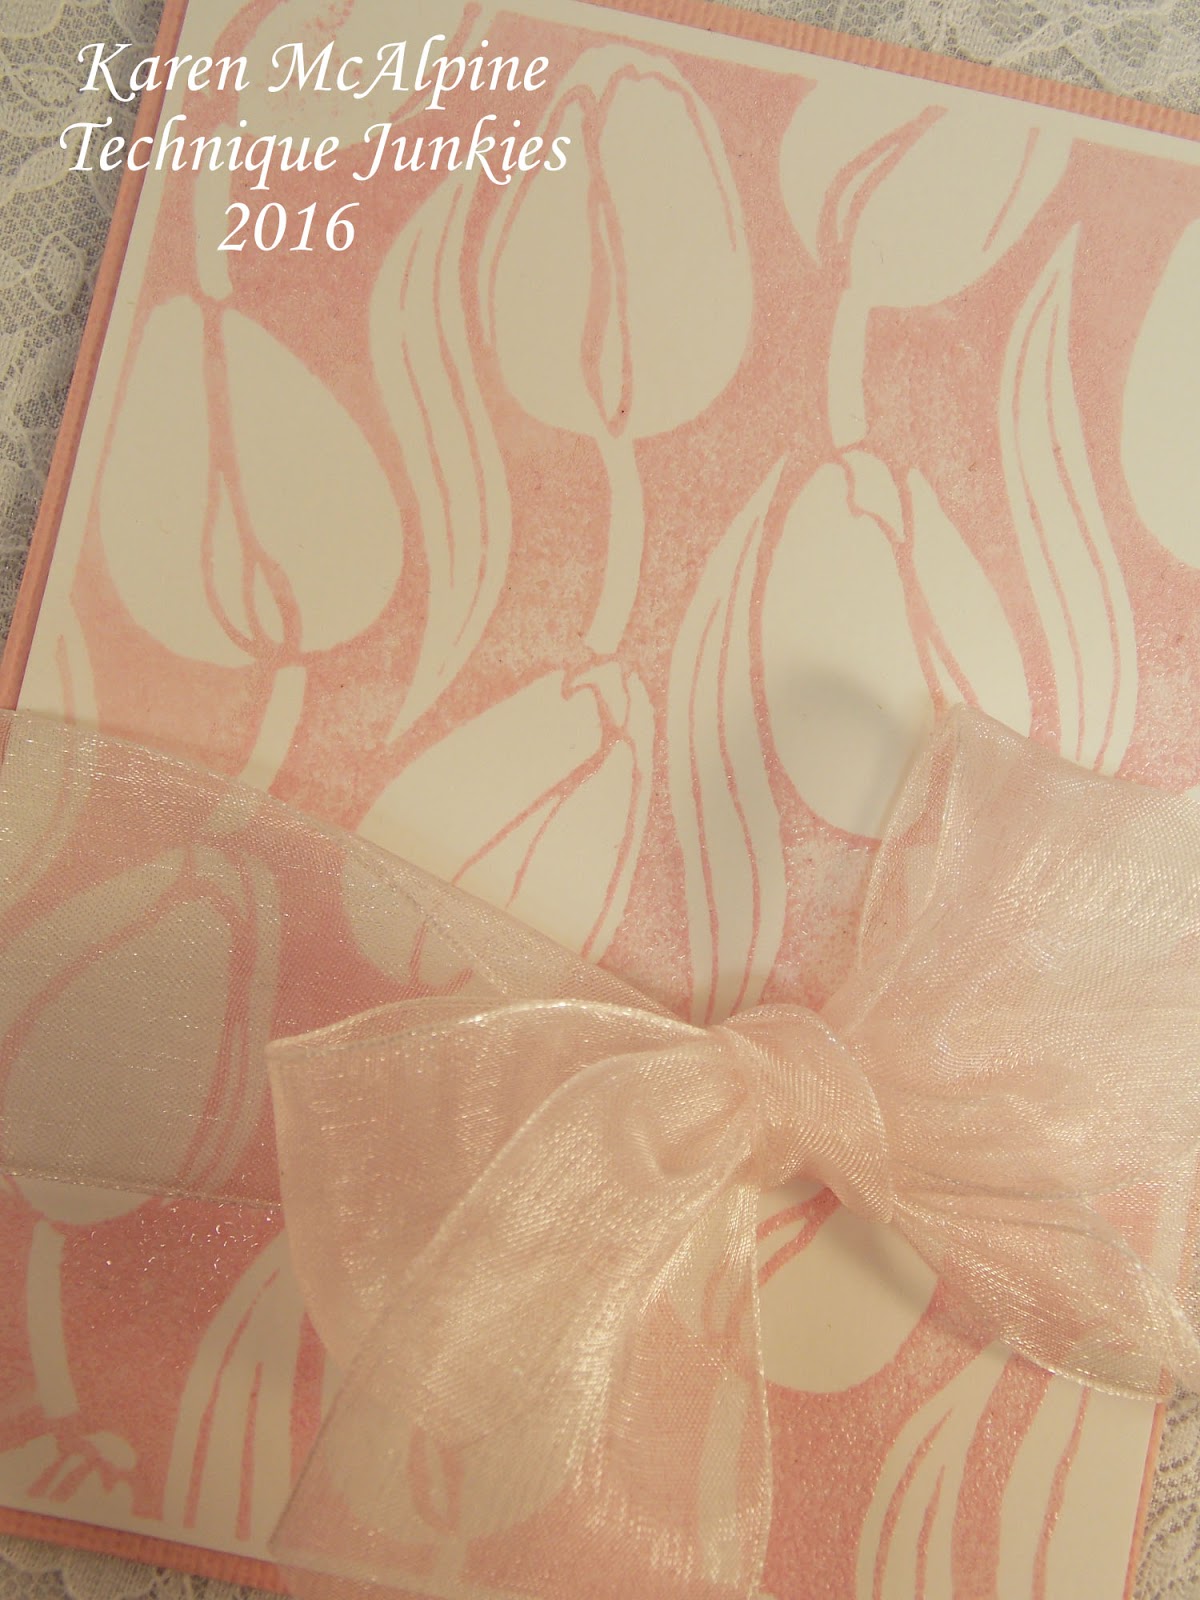
Technique Junkies Tulips Background

Hello Everyone,
Well, it really seems like Spring is here in good old Michigan, USA.  About 6 weeks early too.  Lots of rain and warmer temps.  A couple daffodils are poking through.  Today's project is all about Spring.  I used a March new release Technique Junkies stamp to make three cards. The stamp is so pretty on its own that I really wanted it to be the focal point.


Materials:
Stamp: Tulips from Technique Junkies
Ink: Sea Breeze Versa Magic; pink and taupe pigment 
CS: White; pink, aqua, taupe
Clear Embossing Powder
Extra Wide Ribbons


Make It:

  • Make a card from pink, aqua, and/or taupe CS
  • Stamp Tulips on white CS with pigment ink
  • Heat emboss with clear powder


  • Add the Tulip embossed piece to the card base 
  • Add a extra wide luscious bow


  •  I am using the cards for Easter and have added an Easter Sentiment on the inside.  Some good choices from Technique Junkies are: Simple Sentiments 1a and 1b


Here are the pieces before being made into cards.  Isn't that Tulip stamp awesome!!?  I could not stop stamping!!  I also made another card where I punched squares from the background of tulips.  I will share that card with you later.

Hope the projects brought a little Spring into your day.  Check back for the fourth tulip card and I also have a fun flamingo card coming up this month.  See you next time.  Have a super nice day! Love ya
Karen

*********************Challenges:
Love to scrap: bare necessities-no more than 2 embellishments
Crafty Creations: spring
Creative Moments; anything goes
Inspiration Destination: anything goes

Tuesday, February 12, 2013

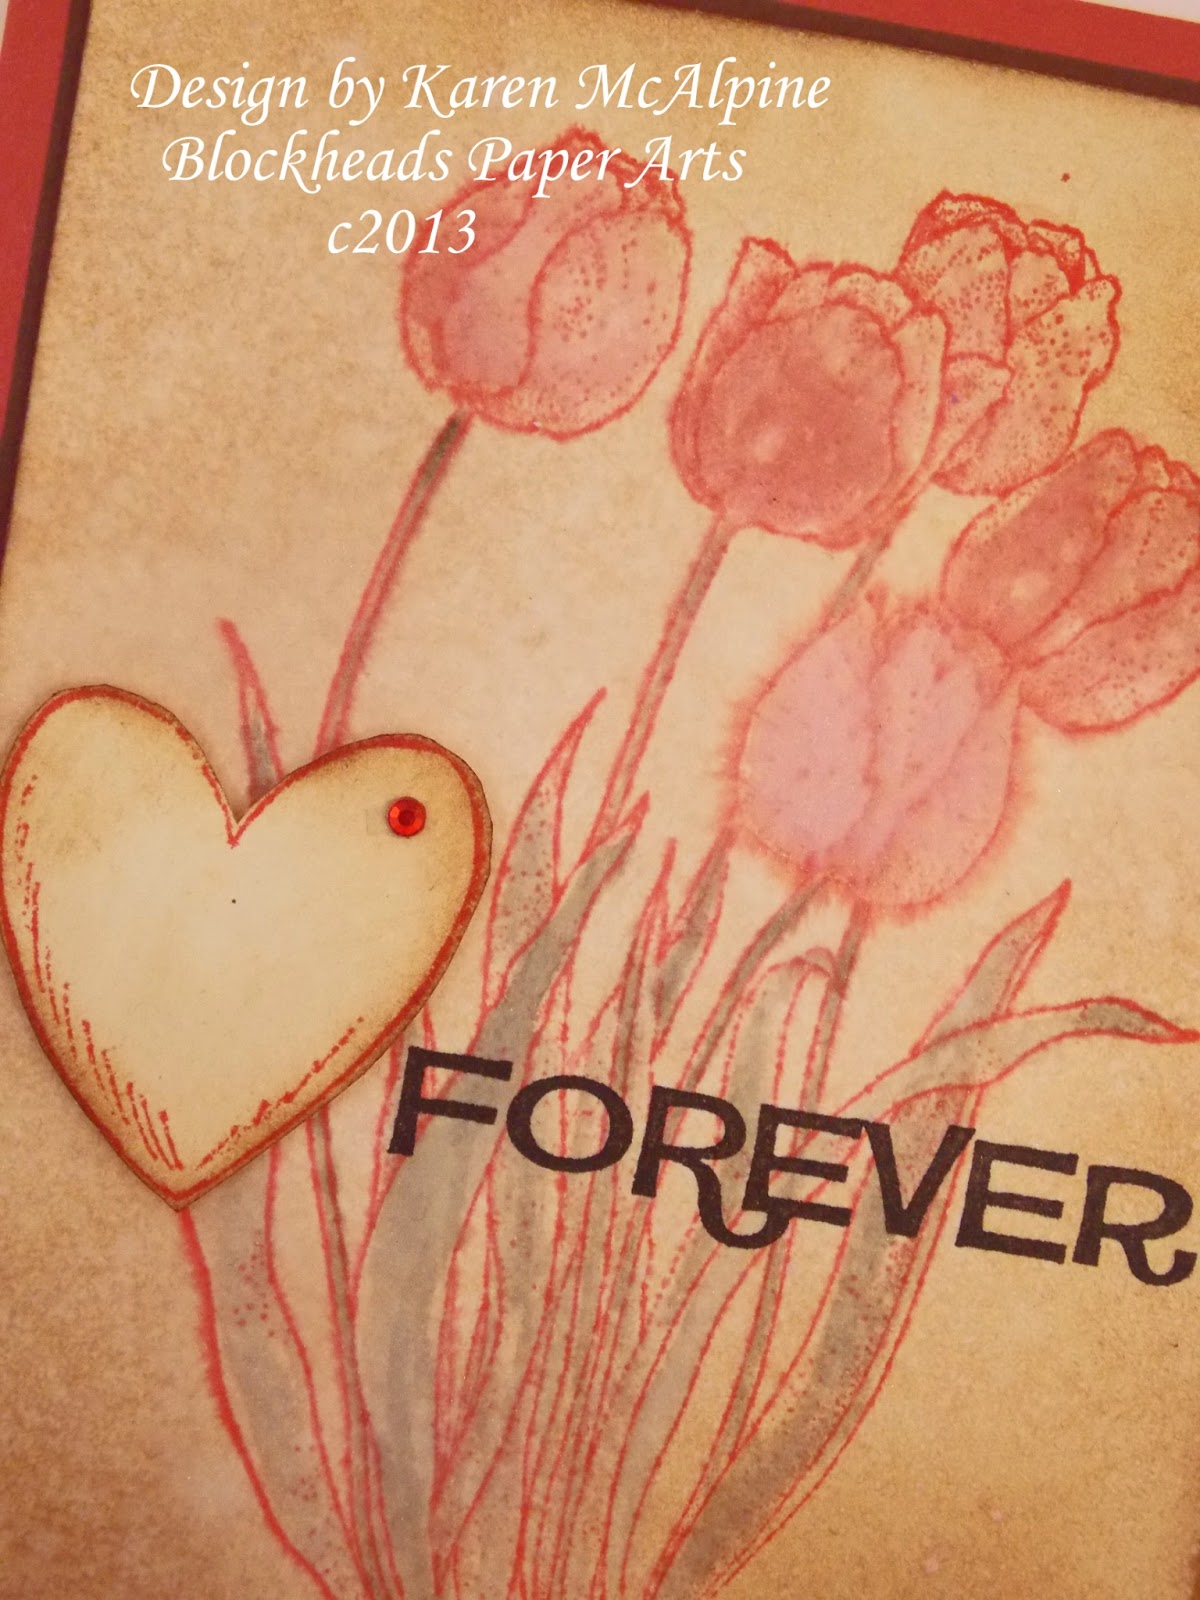
Forever Love with Blockhead Stamps

Hi Dreamers!
Back today with more Valentine's day love.  On this project, I used a floral stamp from Blockheads Stamps for the background, custom made Shimmer Spray, and Distress Markers.


Materials List:
Stamps: Large Tulips,  Love and Romance Half Sheet all from Blockheads
InksOnyx Black Versa Fine, Barn Door and Vintage Photo Distress Ink: Spun Sugar Distress Re-inker
Distress Markers
Sunflower Sparkle Perfect Pearls
Mini Misters
Spray bottle with water
Cardstock: red, brown, white
Red Rhinestone


Instructions:


  • Tip: Make your own Shimmer Spray with Perfect Pearls and Distress reinkers---- In a Mini Mister put a couple pinches of Perfect Pearls, three drops of Spun Sugar re-inker, and water.  Shake
  • Make card base from red CS
  • To make the background: Ink the Large Tulip stamp with Barn Door ink--spray the inked stamp with water --- just a few spritzes.  Now stamp onto the white CS  --gives a nice muted image. 


  • Color the Tulips with Distress Markers
  • Distress the white CS with Vintage Photo ink.  
  • Spray with the Perfect Pearls Shimmer mist spray and let dry or dry with heat tool.
  • Stamp "Forever" with Onyx Black ink
  • Stamp  heart (from Love and Romance Set) with Barn Door ink; cut out and distress with Vintage Photo
  • Add to card with dimensionals.
  • Place Rhinestone on heart


A few Love-ly Challenges for my Forever Love card:
Simon Says Stamp and Show: something messy
Card Mania: Love
Craft Your Passion: My valentine
Papertake Weekly: hearts and flowers
Top Tip Tuesday: Sweetheart and tip


Stay tuned for more Valentine fun the rest of the week!  Hope you are having a great day!  Love ya.
Karen