Tuesday, August 30, 2011

A Loving Couple with The Stampsmith

Hi Everyone,
Boy, I seem to be so busy lately.  I have a bunch of things ready to go out for magazine submissions.  That takes up a lot of time.  I have to run out to the Post Office today and send them on their way.  I have squeezed in some Design Team projects too.  I have one of those for you today.  I used on of the images from the "Shall We Dance Sheet" from The Stampsmith.


Great images!  I stamped on glossy white CS with black dye ink.   Well, here take a look.


I dry embossed a peice of greenish gray CS (TPC) with a Tim Holtz Texture Fade.  I cut out the inside space made by the dry embossing with a craft knife.  I roughed up the cut edges with an emory board.  I crumbled the piece up and smoothed out.  I distressed heavily with Forest Moss and Vintage Photo Distress Inks.  I used this piece as a frame for the stamped image.  I glued to a dark brown (Bazzill) card.  Next step is to make the hearts.  I stamped one of the images from the "Love Notes" full Sheet.


I stamped with Vintage Sepia Versa Fine ink on glossy white CS.  And, then cut out the hearts.  Here is a close up.


I tied a sheer brown ribbon around the card.  The hearts are glued on with Fabri-Tac glue.  I added Two Prima Flowers and some pearls.  This would be a great wedding or anniversary card.   

I am also entering my card in the 

Have fun stamping!  I better get going to the Post office.  Have a great day.  Love ya.
Karen

Sunday, August 28, 2011

More Distress Stain Ideas-Stamp Using Stains 3

Hi Everyone,
I have posted part 3 of my Stamping With Distress Stains on the Blockheads Design Blog.  All the materials and step by step directions are posted there in the tutorial.  Here is the project from the tutorial.

 
And a detail photo.


This is the inside.  Lots of room for a note or I can add an appropriated sentiment.


Hope you have enjoyed my three tutorials on Stamping with Distress Inks.   I trust you are having a great weekend.  Take some time to get out your stamps and stamp a way!  Love ya.
Karen

Saturday, August 27, 2011

More Distress Stain Ideas-Stamp Using Stains 2

Hi Crafty Gals!
I have posted the second part of my Stamp Using Distress Stains on the Blockheads Design Blog.  There is a step by step tutorial over there.  Click over for all the materials and instructions.  There are lots of other great projects there too from Stacey and Leigh.  I made this Fishie project that was stamped with Distress Stains.  This is really a cool technique with lots of "scope".


Here are some detail shots.


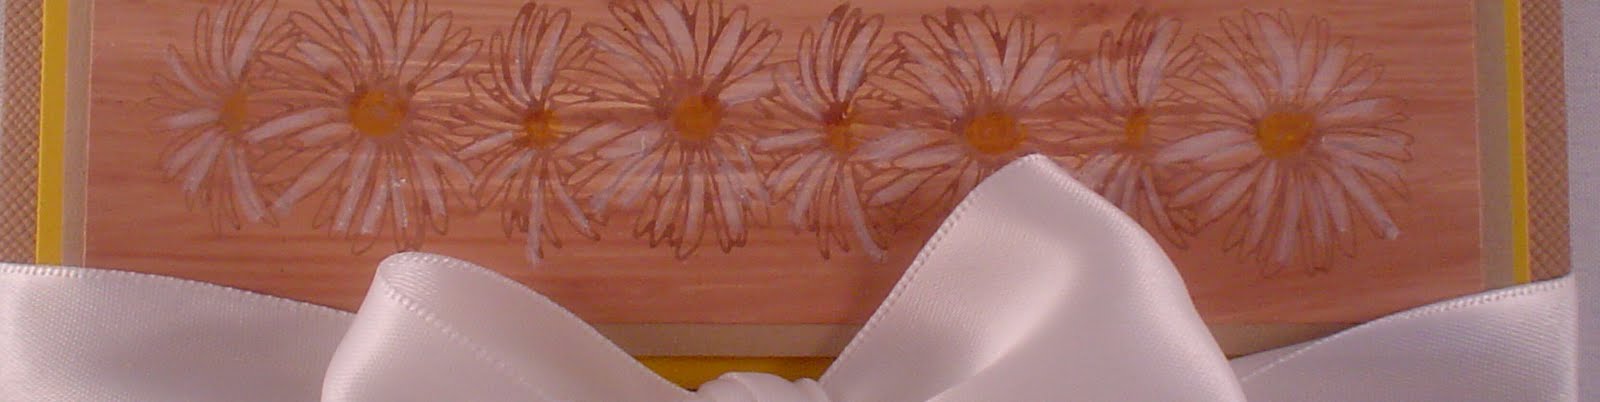
And how about a sneaky peek of tomorrow's tutorial?  It is a card covered with daisies.


See you tomorrow with the third and last installment of the Stamp With Distress Stains!  Have a great day!
Love ya.
Karen

Friday, August 26, 2011

Ideas For Using the New Distress Stains Part 1

Hi Everyone!
I have a new tutorial posted on the Blockheads Design Blog.  I am showing  the results I achieved from stamping with Distress Stains.  There are step by step instructions there.  So click over and see how I stamped with  the Stains.  Sooo fun.   Just another way to make good use of all your supplies!  Here is the card I made.


And this is how I finished the inside.


I will have another installment of "Stamping with Distress Stains" tomorrow on the Blockheads Design blog.
Sneaky peek of tomorrow's tutorial:


Check out the uber cute Mini Sewing Bag that fellow Design Teamy, Leigh made.  She has even included the template for you!!  Awesome as always!!


So see you tomorrow for part 2!!  Have a great day!  Love ya.
Karen

Wednesday, August 24, 2011

Third Coast Rubber Stamps New Halloween Stamps Released

Hi Everyone.
I have a great Halloween card for you today!  I have used on of the new Third Coast Rubber Stamps Halloween images.  This image is called Witch Bathing.    I love this image.  I like to call this my Girly Witch card.
 My thinking was that this witch would have a very girly bathroom.  Hence the pink wallpaper.   She is taking a bubble bath after all.  LOL


Card Size: 6” x 5 ½”
Materials:
  1. Stamps: Witch in Cauldron and Cauldron Sentiment – Third Coast Rubber Stamps.  
  2. Card Stock: White from Staples; Dusty Durango, Lavender Lace, Basic Black from Stampin’ Up; Solar White from Neenah Classic Crest.
  3. Ink: Tuxedo Black from Memento; Emboss It from Ranger.
  4. Embellishments: Self Stick Gems from Darice; Dusty Durango Ribbon from Stampin’ Up.
  5. Other: Copic Markers; Labels Four (S4-190) Spellbinders Nestibilities; Black Super fine Embossing Powder from Ranger. 

Instructions:
Make a top fold card from White CS and completely cover the card front with Black CS.  Layer the card with Lavender Lace CS.  Cut a piece of Solar White Classic Crest CS; stamp Witch with Tuxedo Black ink.  Color the Witch image with Copic Markers.  To make wallpaper: draw lines with a Pink Copic Marker.  Make the floor by coloring in the bottom of piece with the chisel end of a brown Copic Marker.  Cut a piece of Black CS and glue the stamped piece to it.  Wrap the ribbon around this piece and tie in a bow.  Add stamped piece to the card front using dimensional adhesive.  Apply the self stick Gems to side edges of stamped piece.   Cut a slit in the top fold spine of card.  Stamp the sentiment on Dusty Durango CS with Emboss It ink; heat emboss with Black embossing power.  Cut with die and insert in the slit at top of card.  Apply a little glue to tag so that it is adhered to the back side of the front of card.  


Here is a peek at the inside.   Just add a Happy Halloween on the inside and what a great card for all my girl friends.


Isn't this a fun card!!??  Well, now I have to make a whole bunch of them.  LOL
Hope you are having a great  week.  Love ya.
Karen

Monday, August 22, 2011

Winner of the Blockheads Faux Fabric Challenge


We have a WINNER!!!   Random generator pick #4 - Susan Suds!!!!  Susan has won a $25 gift certificate to Blockheads Paper Arts!!  Here is Susan's Entry.  Her project uses the Faux Denim Technique.   Wow, Susan really rocked our Challenge!!  Great job Susan!!


CONGRATS SUSAN!!!!   GRAB THE WINNER GADGET.  Please email me to claim your prize.


THANK YOU TO EVERYONE WHO ENTERED THE CHALLENGE.  WE HAD SOME AWESOME ENTRIES!!!  

I will be posting a new tutorial on the Blockheads blog later today or tomorrow showing you ways to use the new Distress Stains.  They are really fun to work with and I have some cool samples for you.  So, check back later for that.  Have a great day!!
Karen

Sunday, August 21, 2011

Blockheads Challenge #2 on Facebook

CHALLENGE IS NOW CLOSED.


This is a sticky post and will remain at the top while the challenge runs: August 1-21.  Please scroll down for my new posts.  


Hi Everyone!
Today is the start of the Blockheads Challenge #2 on Facebook.  I am hosting this challenge and have selected the theme.  I have been doing a series of tutorials on the Blockhead's Design blog.  I thought it would be fun to base the challenge on the series of Faux Fabric Techniques that were posted on the blog.

Your challenge is to create a project that incorporates a Faux Fabric Technique.  You can use one of the ones I did or any other Faux Fabric Technique you may enjoy doing.  

You will have THREE WEEKS to complete your project.  Please link it up on the Blockheads Facebook Page by August 21.  You may use any stamp manufacturer, but there is a bonus for using Blockhead Stamps.   One participant will be chosen at random to receive a $25 gift certificate to Blockhead Paper Arts.  Stacey, owner of Blockheads Paper Arts, has also added a  bonus of $15  if you  use Blockhead Stamps.  So, that  is a $40 gift certificate for using Blockhead stamps on your project!!  Wow.  How cool is that.  Stacey, you really rock!!  


Now, to get you started, I have some links and photos for you.  There are detailed instructions on the Blockheads Design Blog for the Faux Fabric Techniques.
These are the tutorials that I posted with their links:
Faux Silk


Faux Linen


Faux Batik


That should give you lots of ideas.  I am so excited to see your interpretation of the techniques.  Okay, so check out the instructions and create your project.  Be sure to link it up on the Blockheads Facebook Page!!
Have fun!! Love ya.
Karen