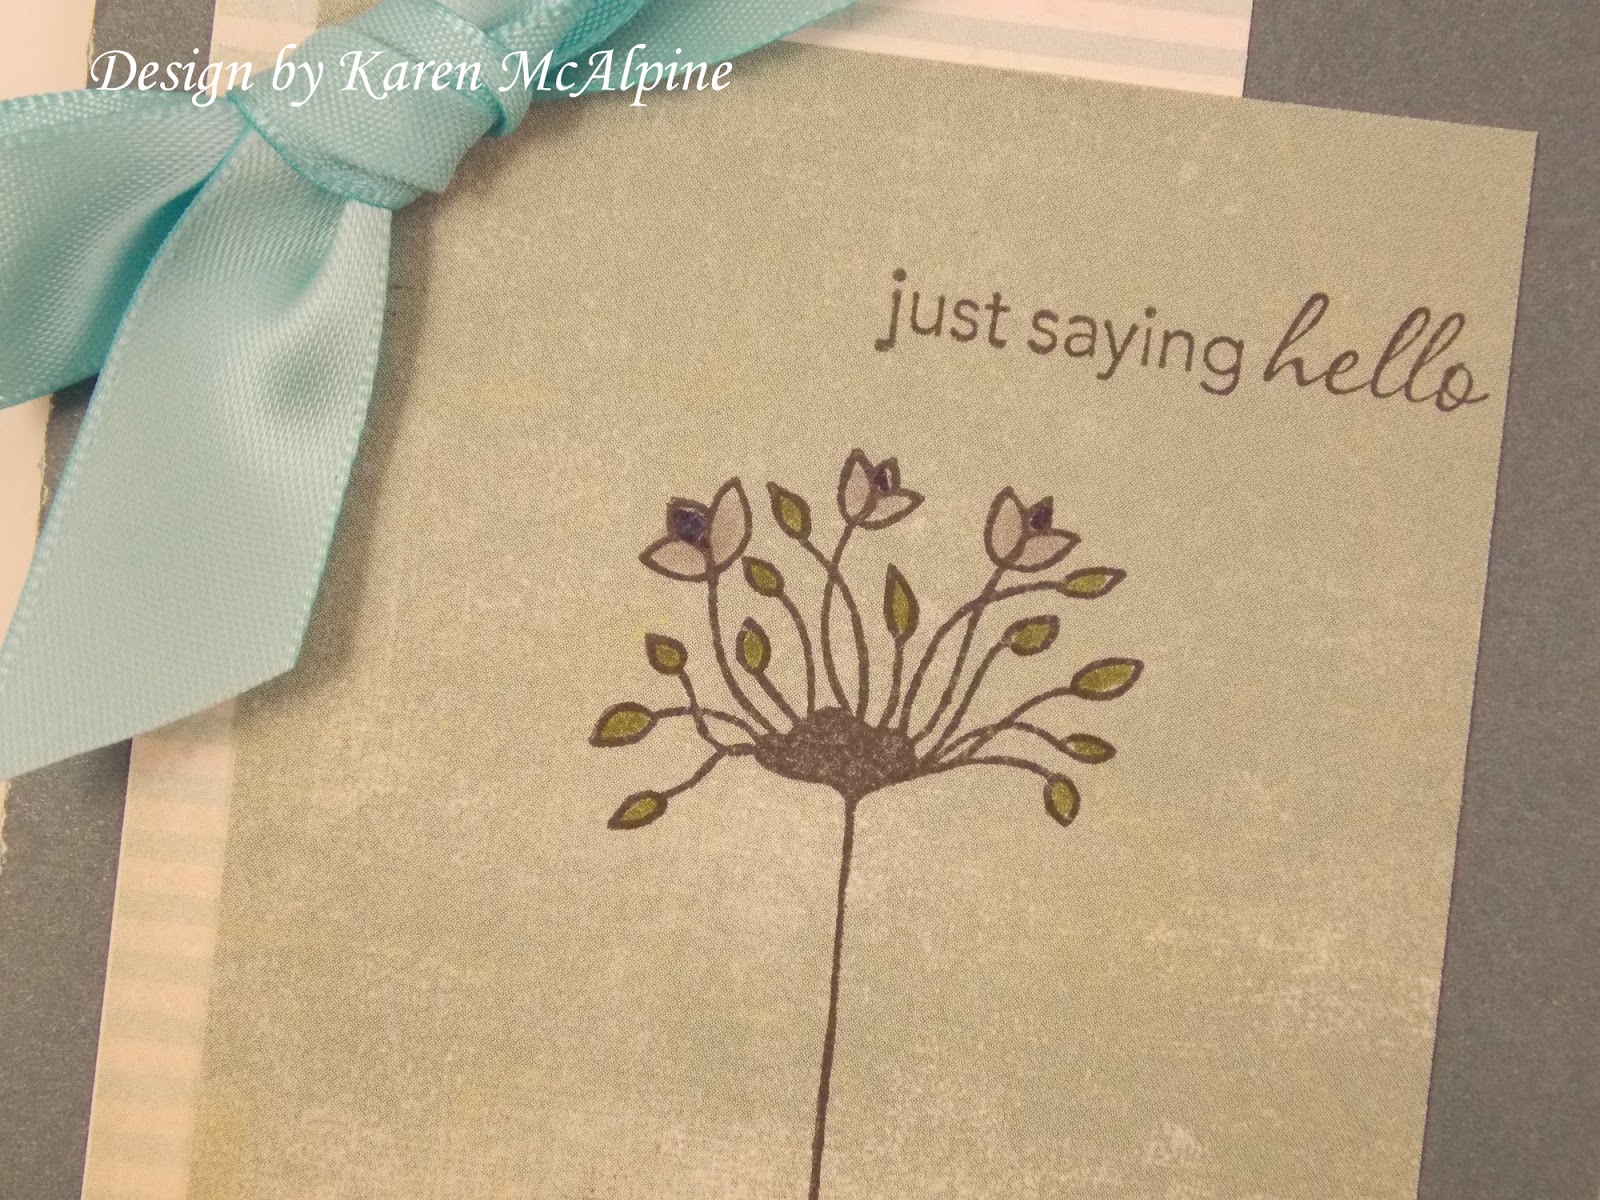
Wednesday, February 27, 2013

Floral Note Card Set

Hi Dreamers!
I have been enjoying all my new A Muse Studio products.  (See this post)  I pulled out one of the floral sets and made this cute note card set.  The stamp set is called "Friend to Friend".


I stamped with black dye ink and added some color with Markers.  


I added some Decorative paper from Authentique.   The lovely satin ribbons are all from A Muse Studios.


I layered onto a pale blue and dark teal CS both from A Muse Studios.


How about a few fun challenges!
Simon Says stamp: anything goes
Crafty card makers: blooming images
Sentimental Sundays: flowers
Created with Love: bright and cheery
Cutie Pie: pastels
Eureka Stamps: flowers
Pretty little ribbon shop: anything goes

Well, the winter storm wasn't much.  Not even two inches of snow.  Better get going.  I really should get some things done today.  I hope your day is filled with creativity and love.  Love ya.
Karen

Tuesday, February 26, 2013

Vintage Dress Forms with Blockheads Stamps

Hi Dreamers!
I am back from a little blogging break.  I had a few days off and now I am ready to blog away.  Today, I would like to show you some vintage cards I have made using one of my favorite themes--the dress form.  The stamps are all from Blockheads Stamps and I added lots of simmer with Perfect Pearls powder.
I made a total of four samples.


Card #1


Materials List for all the Cards:
Stamps: Dress Form from Vintage Light and Form; Notions; Crackle Background
Inks: Rich Cocoa, Espresso Truffle,  and Toffee Crunch Memento;
Butterscotch Adirondack
Gingerbread, Malted Mauve, and Red Birch Versa Magic 
Perfect Pearls Powder
Dimensional Adhesive
Page from a Mixed Media Paper Pad (Strathmore)


Detail Card #1


Instructions:

  • Tear a page from the Mixed Media paper pad.  
  • Stamp the Notions Collage stamp on the paper with Toffee Crunch ink.
  • Tear the paper around the image.
  • On a second piece of paper, stamp the Dress Form with Rich Cocoa ink
  • Tear out the Dress Form


Detail Card #1


  • Distress the edges of both pieces with Gingerbread Versa Magic.  (Gives a nice dark opaque edge to paper)
  • While ink is still wet, sprinkle Perfect Pearls powder onto paper.
  • Brush excess powders off .  This adds lots of shimmer to the edges.
  • Layer onto tobacco colored CS. Add the Dress Form with dimensional adhesive
  • Wrap bakers twine around
  • Mount on Tan CS


Card  #2


Instructions:
Made the same way as Card #1 with these changes:

  • Stamp Notions Collage Stamp with Butterscotch ink and use Red Birch and Gingerbread Versa Magic ink on the edges


Detail Card #2


  • Stamp the button from Notions Stamp set with Rich Cocoa ink; sprinkle Perfect Pearls powder here too.


  • Add a scrap of sheer fabric that has been tied in a knot.


I made two other examples before I made the two above.  I thought it might be nice to put a sealer of some kind over the Perfect Pearls.   I put a coat of Royal Coat Decoupage Finish on them.  Well, it negated the shimmer.   I still like the cards and think they are cool, but you can't really see the shimmer.  So, I would not use the Decoupage finish on Perfect Pearls again, but would on a plain surface that I have not  planned as a  shimmery piece.   Here are the non-shimmery samples.


  •  I used the Crackle Background stamp here and also stamped the Hooks and Eyes (Notions set) with Espresso Truffle ink.
  • Use Malted Mauve and Gingerbread Versa Magic on the edges.


You can see that these two samples have a matte finish.


How about a few Challenges:
Simon Says Stamp and show: a favorite stamp---The Notions Collage
Love to Create: wrap it up-bakers twine
Flourishes Timeless Tuesday: glimmer and shine

We are supposed to get a winter storm here in Michigan later today.  I have all errands for the week done and don't have to worry about going out tomorrow if we get lots of snow.  Good excuse to make a few cards. LOL  I wish you a day full of joy.  Love ya
Karen

Tuesday, February 19, 2013

Vintage Scissors Note Card Set with Blockhead Stamps

Hi Dreamers,
How are you doing?  Hope your weekend was nice.  My weekend was good.  Got to spend some time relaxing and watching some DVD's.  I received the complete set of "All Creatures Great and Small"  and have been engrossed in watching that all weekend.  And, of course, watched "Downton Abbey".

I still had time to make a note card set with vintage scissors stamps from Blockheads.

The card size is 3 1/2 x 5 1/2".

I used the same CS on all the cards: white and a speckled pale green.  There are four different cards.


Materials List:
Stamps: Household-Sewing set from Blockheads
Ink: Oregano Adirondack and Frayed Burlap Distress ink from Ranger 
Cardstock: white and speckled pale green


Instructions:

  • Stamp the scissors on the pale green CS with Oregano ink.  
  • Distress the edges with Frayed Burlap Distress Ink.


And, here is a close up.


Isn't this a fun set of stamps??!!  I think  the cards would be a really nice gift wrapped up with some ribbon.
Have a super day!  Love ya.
Karen

Sunday, February 17, 2013

Colorful Angels with Lost Coast Designs

Hi Dreamers!
How is your weekend going!  We are getting a little snow here in Michigan.  Not sure how much we will get though.  Good excuse to stay inside and make a few cards.  LOL.  Today, I would like to share two colorful cards I made with a stamp from Lost Coast Designs:  Hope Angel.  On the first card, I also used the background stamp called Yourba Adire.


The background is stamped with Lettuce Adirondack ink.  The angel is colored with Twinkling H 2 O's.


Tie a sheer green ribbon around card.


The second card is made with a watercolored background. 


The image is colored with Distress Markers.  


 I strung a few beads on twine for the embellishment.  Knot the twine to hold the beads in place. Add some ribbon and lace.


Great happy image!  Love it!


Challenges for my Hope Angel cards.
Stampin for the weekend: distressing
Allsorts: things with wings
Sweet Stampin: stars and stripes
Catered Crop: stars

Have a great weekend!  Love ya.
Karen

Thursday, February 14, 2013

Vintage Cards with Lost Coast Designs

Hi Dreamers.
I am back for a second post today!  I did not want all my vintage loving friends to feel left out because  I posted all those cutesy cards  earlier!  LOL.  So, lets get all inky and distressed with some really cool Lost Coast Design stamps.    On both  cards, I used a mono printing Plate to make the backgrounds.


To make this background, apply paint to the mono printing  Plate and press an embossing folder into the paint.  Press paper into the plate.  


When paint is dry, stamp Harmony Angel stamp with Onyx Black Versafine ink.  Color with Distress Markers.  


I added some blue rhinestones, gold cording, and gold leafing for an extra bit of bling.  


The second card is also made with the mono printing Plate.   I used an embossing folder with clocks. 


                                                 I stamped Times Flies with Onyx Black ink.   


I used some gold ribbon and green rhinestones to finish off this card.


Love these cool images!!  And, the mono printing Plate is pretty fun to work with.  Working with the Gelli Plate definitely qualifies as "Something Messy" over at the Simon Says stamp and Show challenge.

Have a great Valentine's day!  Love ya.
Karen

Valentine's Day Fun!

Hi Dreamers
Happy Valentine's Day!  I am going to show you all the rest of the Valentine's Day cards I made for the hospitalized children.  So, hang on  and just scroll down.  I won't talk much and just let you look.  I thought I would do this instead of not posting them or saving for next year.  LOL.    The first group is made with Meljens Design  digis and colored with Copic Markers.


My Sentiments Exactly stamps


Soft Pencil digi image


Stampin' Up Owl Punch
 .


Aren't these fun cards!!  I hope the kids loved them!!  I built the love in them.  LOL.   Oh, let's play a few challenges too!!

Meljens: All you need is love
Love to Create: feeling the love
Crafty Creations: love/hearts
Charisma Cardz: anything goes
Crafts us Crazy: your favorites--I used some of my favorite digis that are just perfect for children's cards

Hope you have a great Valentine's Day!!  Lots of love!
Karen

Wednesday, February 13, 2013

The Stampsmith Floral Alphabet Love Card

Hi Dreamers!
It is totally all about "Love" in Dreamland this week!  On today's card, I spelled out the word LOVE with letters from The Stampsmith's Floral Alphabet.  I added all kinds of pretty embellishments fit for a heartfelt Valentine's Day card.


The letters were stamped with brown ink on pink CS.  I added some color to the letters with markers.
I die cut a heart (A Muse Studios) from Velum.  


The doily was hand cut to fit on top of the velum heart.  I used the rest of the doily on the bottom of the card. 


I added some red satin ribbon and some tiny rhinestone hearts (A Muse Studios).  And what would a Valentine's Day card be without lots of pearls??!!  


So, I like how this turned out.  Again, an example of how you can make a Valentine's Day card with everyday stamps.  This would be pretty with a name instead of Love too.


And, now a few Heart inspired Challenges!!
Flourishes: hearts
Anything Challenge: Vintage/shabby chic
Craft-room: make embellishment--I made the heart
Tuesday Alchemy: hearts
Creative Belli challenge: hearts---paper doilies
Little Red Wagon: love
365 Cards: Word Wednesday-love

Well, I have to get going here.   Have busy day today.  All good stuff.  I hope your day is filled with LOVE.  Love ya.
Karen